I was looking for a recipe before and found this recipe which I saved because I knew that I would be coming back to it. I got out the last of my coca and measured it out. I was just enough to make the cookies so it must have been what my cocoa was waiting for.
I cut the dough in half and still had a pretty big ball. I worked it in with the flour per the recipe which was a little tough to mix in at first but then it went really smoothly and helped the dough pull together much better so that it wasn't so soft.
I put the ball in a container for the fridge so that it could rest and cool per the instructions.
Then, I started with the chocolate side of the dough. I added the flour and the cocoa to the bowl to mix together. It was a little more difficult but I think that I got the hang of it after the first half so it wasn't much different.
I put my ball of dough in the container and stuck it in the fridge.
The next part was measuring out the parchment paper which was one of my after Christmas sales scores because I was totally out of parchment paper. I don't know if you can see the picture of the Christmas cookies at the edge but because of that, it was on sale for half off. The instructions said to measure it so I pulled out the ruler.
After the parchment paper was cut, I smooshed the dough ball into between the two sheets. I just pressed down with my hands.
Then, I used the rolling pin to roll it out. It was really easy to roll out because the dough didn't stick to the rolling pin! This is what it looked like after it was rolled out.
I did the chocolate level with the same top sheet as I used so that I only needed to cut three papers. Wasn't that thrifty?
The fun step is to put the two layers together which was hard. I thought that it was going to be impossible but it was just really awkward. After putting them together, I used the bottom paper to roll the edge in which made it easier to handle and lift.
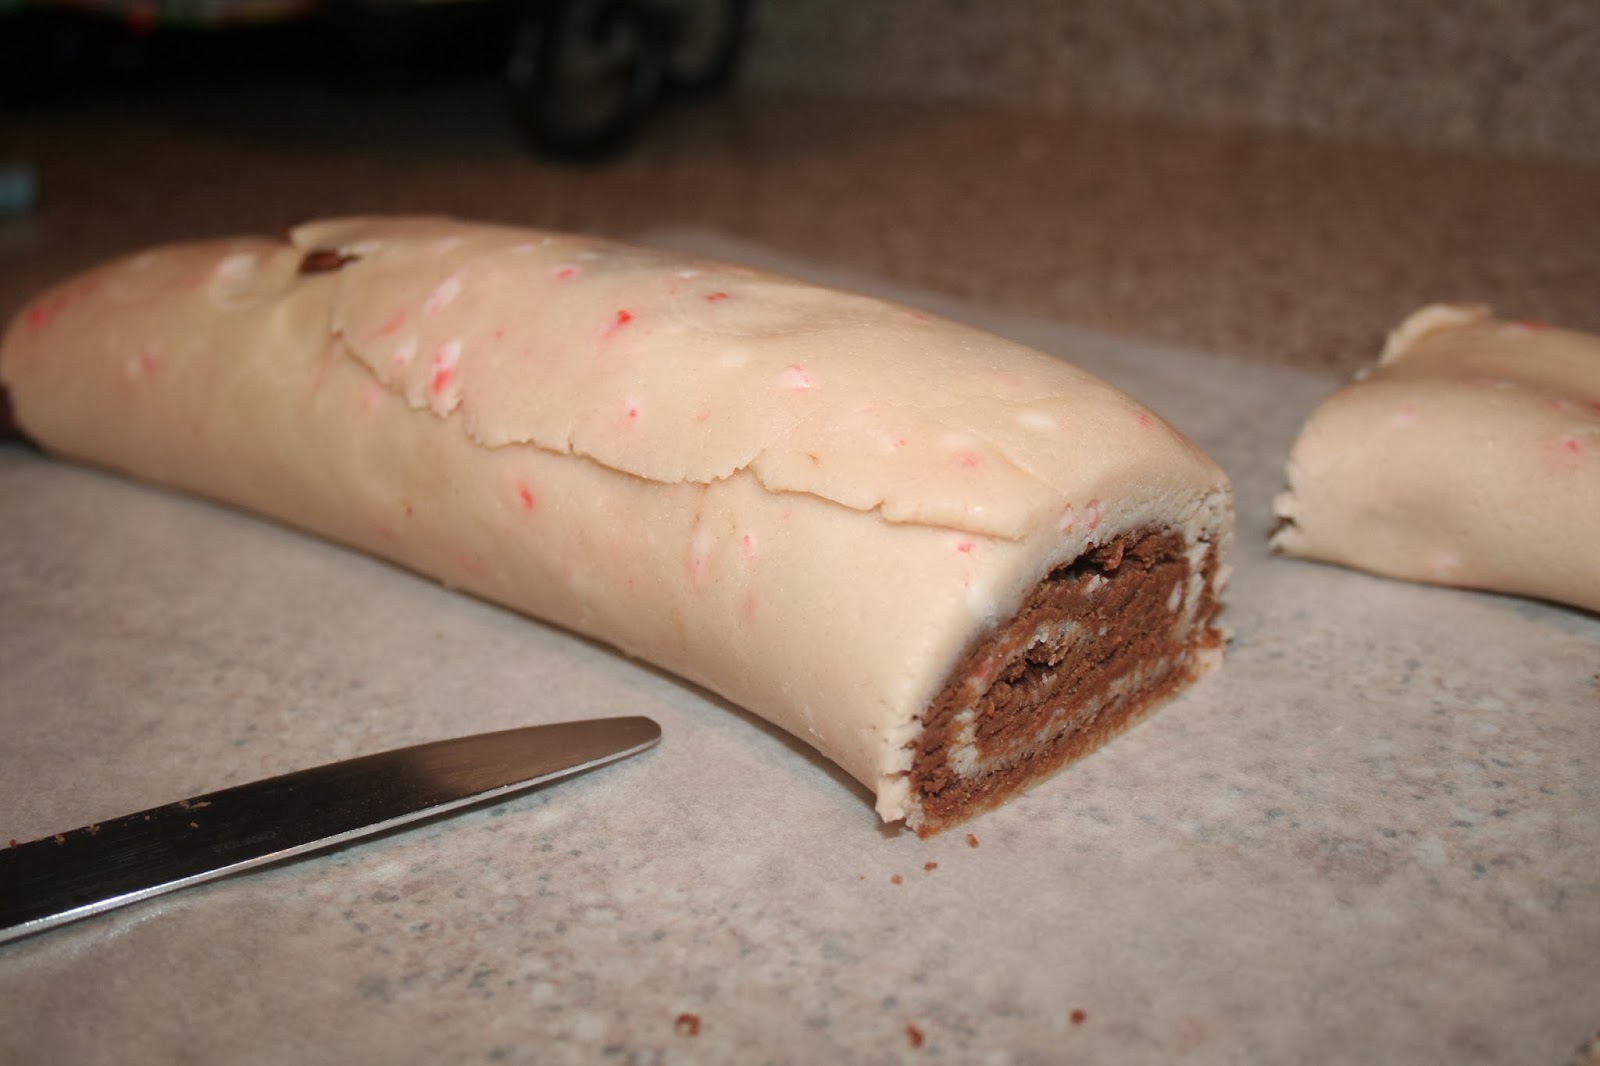
The final roll was pretty neat looking.
I cut the roll in half and cut the ends off because I am not so great at making the dough square. The slice of the cookies looked like this.
I used the parchment paper to put them in the oven too! What a great dual purpose. Here is what they looked like when I put them in the oven.
I made a few trays and the layers looked really great and fluffed up to a nice looking cookie. I thought that I took pictures but I couldn't find any when I was searching through the pictures. The final product tasted like a sweeter shortbread cookie. Pillsbury suggested dipped them in the chocolate and adding peppermint to the outside but I thought that that they were perfect without the added decoration. I hope that you try them so that you can see how pretty the final project turns out.
If you would like to see Pillsbury's pictures and how pretty it does look dipped in chocolate and peppermint. Then, don't forget to check out their recipe here. Mine were a little bigger because I cut them a little thicker.
** My friend is on a special diet and couldn't eat any of the sweets so she took two home to freeze so I took a picture of the frozen cookies since I couldn't find a picture from my camera. I still think that they look exactly the same but just wanted to let you know.
Chocolate Peppermint Pinwheel
Cookies
Ingredients:
1 roll
(30 oz) Pillsbury® refrigerated peppermint sugar cookies
1/2 cup
all-purpose flour
1/4 cup
unsweetened dark or regular baking cocoa
Instructions:
Cut
cookie dough in half crosswise. In large bowl, place half of the dough. Break
up dough; stir in 1/4 cup of the flour until well mixed. Wrap dough in plastic
wrap (or in container) and refrigerate 30 minutes or until firm.
Meanwhile,
in same bowl, break up remaining dough; stir in remaining flour and the cocoa
until well mixed. Wrap in plastic wrap (or in container) and refrigerate 30 minutes or until
firm.
To make
pinwheels, place peppermint dough between 2 sheets of parchment paper. Press dough down until flattened slightly. Roll into
10x12-inch rectangle. Repeat with chocolate-peppermint dough. Peel top sheets
of paper from both doughs. Turn chocolate-peppermint dough upside down
onto peppermint dough. Roll doughs together, starting at long side, into a
log.
Heat
oven to 350°F. Line cookie sheets with parchment paper or use nonstick
cookie sheets. Cut dough into 1/4-inch slices with sharp knife and place 1 inch
apart on cookie sheets.
Bake 15
to 18 minutes or until edges just start to brown. Remove from cookie sheets to
cooling racks.


Thx for sharing on Mostly Homemade Mondays. We LOVE the chcoclate/peppermint combo, so this is destined to be a winner at our house!
ReplyDeleteJanet
http://ouroneacrefarm.com/
I wasn't sure how they were going to turn out but we loved them. They also went quickly which is why I guess I missed getting a picture :) Hope you like them too!
Delete