Showing posts with label Kid Math. Show all posts

Wednesday, September 14, 2016

Kid Wednesday: Teaching Letters to Preschoolers

Teaching preschoolers letter by letter is a great way of introducing the letters and having them have contact with different letters through art, reading and more.   There are many ways to do it whether starting at the beginning and working your way through from A to Z or easier to learn letters first.  I have used the method outlined in Handwriting without Tears which has an order of letters (found here) that suggests an order that might be easiest to learn capital letters.


Frog Jump Capitals: FEDPBRNM, Starting Corner Capitals: HKLUVWXYZ, Center Starters: COQGSAITJ

I think that it is nice to mix up the letters instead of doing them in order but it has an added benefit that this makes it easier for the kids.

The lower case letters are different orders but we do both capital letters and lower case letters at the same time.

When I was teaching my son, I made a list of all the words that started with a certain letter and a list of all the books that had things to do with that letter.  There are great resources all over the internet but I love the list of the books from Measured Mom because there are so many different ideas.  We had a rough idea that we would use a lot of different ideas to learn the letter such as:

  • reading books with the letter
  • doing arts and crafts to make things with the letter
  • learning math dealing with the letter (my son's favorite subject)
  • using writing with the letter
  • using fine motor skills with the letter
  • using sensory items with the letter
  • incorporating science with the letters
  • singing songs or learning rhymes with the letter
The hardest part for me was to get so involved in planning that we didn't get anything done because I had too many ideas.  Remember that preschoolers are young and want to have fun so as long as you make learning fun, they will enjoy the process!!  Pick a few things to do and don't feel like you need to do everything with every letter.  I will be sharing letters with you each week with links to find some interesting files and information for yourself.

Enjoy and have fun!!

Wednesday, January 20, 2016

Kids Wednesday: Our Lego Birthday Party

As you all know by now, I try to figure out how I can do anything the cheapest.  Birthdays are no exception.  Although I know that kids need to have a great time and make great memories, I know that it doesn't take a lot of money to do that.  Many people in our area (and probably across the country) spend way too much money on kids birthday at least in my opinion.


My son declared last year that he wanted a Lego Birthday party so I started keeping my eyes out for things that I might want to use.  I grabbed some Lego City Birthday Cake Decorations (for $1) at a consignment sale.  I wasn't sure what I was doing but seemed like a good investment.  We also save the candles from the parties from the previous years because they never burn very far.  I wash them and keep them in a bag.  It was a little challenging to find them in the new house but I did it at the last minute so that we didn't have to buy new ones.


Sadly, I was still slightly unprepared when it came down the time for the party because I was just getting over Christmas.  I had a pile of notebooks that I picked up at CVS with the after summer sale for $0.25 each (so that was about $4 spent).


I decided that I was going to decorate the front of the notebook with some Lego brick print in different colors.  I wasn't sure exactly how to do it so I asked one of the teachers at work.  With her great advice, I came home and did them.  It got easier as I went on but I think that they turned out pretty cute.


I made an activity book for the good bag with stuff from lots of sources.  I included coloring, mazes, word searches, and more for the kids to take home with them.  They are all about Legos in one way or another. Some of the sheets came from here and I printed some pages from the Lego Movie coloring sheets and Lego City to make it super complete.


I also made yellow Lego man and green Lego Bricks out of chocolate in these neat molds that I bought from Amazon.  My son wasn't big on the plain vanilla flavor so I added peppermint to the green and they were way tastier!!  I enjoyed the look of the Lego man but was a little disappointed in the brick because they were much larger then the normal Legos.  Jollylife Building Bricks and Minifigure Ice Cube Tray or Candy Mold --For Lego Lovers are the ones that I got (around $6).  I bought the chocolate on clearance at Target at the after Christmas sale last year but I don't remember how much they were but they were at least 50-75% off (around $4).


I was making the goodies to go on the top of the cupcakes but my son decided that I needed to be in the goody bags to take home.  I made the ones for the decorations for the cupcakes and started on the good bags. 


I decided on two Lego men and two full bricks even though I cut the bricks in half because they were so big for cupcakes.  I guess I made more then I thought but I used all of the chocolate that I bought so at least nothing will go to waste.  I used bags that I bought ages ago and never used and blue curling ribbon to go with the colors. 


I made the goody bags from white lunch bags with a thank you Lego man on one side a face on the other side with the kids names written in red marker.  The faces can found here and the Thank You Lego Man here.  We also put a little bag of M&Ms in there because they are my son's favorite candy and we had them at the party to decorate the cupcakes (as well as we got some from my sister in law from the candy she didn't give out at Halloween).


I made a banner with letters that I printed.  I cut the paper to look like bricks.  I decided that I had to link them together with some white yarn that I had and a hole punch.  Super fun and colorful and free with things that I already had at home.  I don't like to pay for things that end up going to waste after the party is over but well worth the time to make this cute banner.  I also have a red table cloth that I have had for a little bit so I used to cover a table for snacks.  Super colorful and with the colors of the party theme.


For fun and games, we printed out a Lego man to pin the hat in the Lego man (found here).  I was going to come up with something where you had to pin the head on the Lego man but the hat seemed so much easier.  My husband printed it and we just needed to put the kids names on the hats so that they could do that as they were coming into the party.


My husband decided that after he blew up the picture that there were a few things that needed to be photoshopped so we had an extra poster.  Since I hate to let anything go to waste, I cut up the paper from the notebooks that was leftover and put it around the extra poster to make this neat decoration for the room.  I think that it turned out super cute and will make a great addition to the sort of boring room that we are having the party in.


We borrowed Lego Bingo Cards (found here) from another mom who had a party and was done with them.  We just had to clean off all of the markers that the kids used.  They were a blast and super easy to use and pass on to the next friend having a Lego Party or to be used as a family Bingo night down the road.  The kids were cheering that they had three or two left so we knew that they were into it and we did two rounds.


We had a mason jar filled with 176 legos.  The kids were supposed to guess the number of Legos in the jar and I was super surprised on how many fit in the jar so I was hoping the kids wouldn't be able to guess either.  They wrote their name and their guess on the paper.  There were a few that were hard to read because they wrote 1002 which was 100 and 2.... most commonly known as 102.  The kids are still a little young for some of the big numbers so it was so funny.  We had one guess that was only 13 away for he won a prize.


We also decorated a Lego Man for which I had three or four different options depending on what the kids wanted.  I pulled out the markers, crayons, stickers, glitter glue, jewels, pipe cleaners, pom poms and more.  I figured that the more creative the better although I was a little worried about drying time.  I am sure that the parents would be carrying them home with lots of not dry items and careful balance.


I bought juice boxes (after sale and coupon the two boxes were $2.50) and I bought green plates another after Christmas purchase a few years ago (about $2).  I used blue and red paper napkins we had leftover from other parties so that I didn't have to get any new ones.  I made cupcakes with things that I already had around the house so I never know how to count how much those cost but they were pretty inexpensive and the kids spent time decorating them as one of the fun activities.


In addition, we had the birthday party at Home Depot.  My son really enjoys the crafts that they do there once a month.  They offer a birthday party free of charge as a public service and they do a craft with the kid.  When my son heard that was an option, he was all in.  When I realized that I didn't have to have all the kids in a house that wasn't done under construction and boxes not unpacked.  I was sold too!!  It took a little more pre-planning to make sure that we had everything but check with your local Home Depot to see what they offer because it is a great party on a limited budget!! We threw our stuff back into the boxes that I brought and we were done with clean up.  Awesome!!

We had a great time at the party with lots of memories and very little money.  I kept adding more and more things to my to do list but I was pretty happy with the work that I put in to pull off a fun party on a very small budget.

Wednesday, April 8, 2015

Kids Wednesday: Mosiac Turtle and Trip to the Nature Center

I was trying to plan things to do over Spring Break with my son.  He mentioned how we are moving away from the nature center so I figured that we would make a trip to visit them and the turtle that they have in the front area.  I wanted to come up with something else that we could do in combination with that so I found a fun craft online to make a turtle here. We started by taking turns coloring the small shapes on the paper.  This takes a long time so it helps if you share in the creative process or it could take days.


I used a piece of green paper behind the sheet and cut two at a time so that we had lots of green and double the shapes with half the cutting.  It was a good thing because we needed almost all of the two sheets.  After they were cut out, my son glued the shapes on the bottom of the bowl.


The final bowl/shell took a few days but it was really neat looking.  We still needed to make the head and arms but I thought learning about the shells was still pretty good progress.  We went to the nature center and had a great time.  I forgot to take pictures.  There were tons of turtles and we even got to see the parts of the shell on one of them.  There was also a baby where you could see the egg tooth.  It was a great to see the turtles up close after reading a few books.

I was super excited to make a little craft and take a trip to the nature center but I decided to take it a step farther and find a few books to go with it at the library first.  I found the one that looked most interesting which was Look Out for Turtles! (Let's-Read-and-Find-Out Science 2) by Melvin Berger.


Turtles are among the oldest living creatures in the world. They have been on earth for nearly 200 million years!  In Look Out for Turtles! readers will discover why these creatures have survived so long. Hard shells protect many turtles from harm. Colorful markings on their shells help some turtles to blend in with their surroundings. Different kinds of turtles can live almost anywhere on land or sea and can eat many kinds of plants and animals...Today turtles must struggle to. survive. They are hunted, and threatened by pollution. There is less and less open space for turtles to live in. If turtles are going to be around for another 200 million years, they are going to need our help!


We already had one book at home which I knew that my son was interested in because we read it the other day, Yertle the Turtle and Other Stories by Dr. Seuss.  It is good to balance the real books with the more fun stories to get a little bit of both worlds. 


We got a few more books out of the turtle section of the library.  There were a few good ones there and I am sure that there will be some at your local library too.  

I went online to Teachers Pay Teachers to see what other free resources I could find and there was a bunch!!  I downloaded a few great resources.  I kept them in my bag and we did a bunch while at the car dealership getting my tire fixed from a nail in the tire.  See anytime can be a learning time if you are prepared.


This is a great reading exercise because it gives information that the kids can learn and then there are questions to answer as well.


This one looks like it would be fun to do and then the cards can be used to make a little memory match with the two matching cards as well to add a little extra fun!


If we decide to go a little deeper into the topic, I might pull out this information to get a little more information into the science behind the turtle life cycle.  There is a little bit about it in the reading so I think that this would be a good follow up if he is interested because we love to make posters.
 
The great thing about this lesson is it involves art with making the project, math with the shapes and patterns, reading with the books, and science with the learning and the trip to the nature center.  It is great when you can take one simple idea and turn it into fun for lots of learning. Hope that you enjoy some learning with your kids too!!!

Wednesday, March 4, 2015

Kids Wednesday: Popcorn Science

I got a great idea to reserve some books at the library and do a little science and math lesson over the weekend.  Check out this website to see the science experiment using popcorn.  It was a tasty snack filled with fun learning!! What a great idea for a learning activity that doesn't feel like learning.

I made the popcorn on the stove a little bit ahead of time so that we would have popped popcorn and not have to wait for the finished product.


We started by going to the library to pick up the books that came in on reserve.


My mother read the one book that he wanted to read at the library before we came home.  They learned all about matter and how things changed in What Is the World Made Of? All About Solids, Liquids, and Gases (Let's-Read-and-Find-Out Science, Stage 2)

by Kathleen Weidner Zoehfeld and Paul Meisel.


When we got home, I got out two wide mouth ball jars so that we could count the 100 of each type of popcorn into the jars.


It was a hit!  My son had a blast counting the popcorn.  Doesn't he look at a little too happy??


And even more fun eating the popcorn!! He insisted that he should eat the ones out of the jar which was fine by me but he had trouble getting his hand in the jar and the popcorn still in the hand when it got too low.


He and Grandma enjoyed eating their snack of popcorn while I was reading the popcorn book.  While they were eating their snack, I read The Popcorn Book by Tomie dePaola.


I hope that you enjoy reading these books and learning about the difference and how solids can change like popcorn.  There is even lots to learn just about popcorn in the popcorn book that you might not even know.  I know that I learned some things!! 

Wednesday, January 21, 2015

Kid Wednesday: 365 Fun-Filled Learning Activities you can do with your child Book Review

I found a bunch of books at the library that I wanted to read about teaching and one of the great ones was 365 Fun-Filled Learning Activities: You Can Do with Your Child by Mary S. Weaver, Weaver.  It included one activity a day to do with your kids.  The ideas are great and super simple to do mostly with things you already have around the house.  Those are the ideas that I love to hear because you can do it no matter how much money you have and your children are more prepared for kindergarten.  If you want to do your own preschool or if you want to supplement what they are already learning, this is the best idea book for you.


The description online is "This title provides learning activities for children to use in the home, including phonics, sets and groups, painting and drawing, and shopping for words."  The book is broken up into sections with language activities, math activities, science activities and physical development activities.  There are great and frugal ideas included in each section of the book to do with different ages and levels.  The page gives you the age and the skills you are using when you do the activity.  There are many great ideas when working with kids that you can incorporate into every day life without the kids even know that they are learning.  This is great for kids at home or preschool environments.

My son is a little old for a lot of the activities (he just turned 6) but we have done quiet a few of them in the previous years and we would have done more if I had read this book at a little earlier.  It is a great book to check out of the library or ask for Christmas because it has so many things in it that you will be able to keep the little ones entertained and learning at the same time.  There are ideas for homemade memory cards, secret messages made with white crayon and revealed with paint, and making letter and number books.  There are tons of ideas that don't take a lot of planning from the parents or special supplies.  If you want an inexpensive option to teach your young children, this book has the answers.  Some of the ages are a little off for my son but I guess it really depends on the level your children are starting from in the different areas.  Some kids pick up quickly on language arts and others on math so you can customize the learning games to the level your child(ren) are at in order.  The best idea is to introduce the idea and see how the kids take to it because you never know unless you try.  The older they get the more complicated that you can make each activity.  I hope that you enjoy all of the fun activities with your little ones!

Wednesday, September 3, 2014

Kids Wednesday: Money Basics and How to Teach Kids

I found some great books at the library and I am going to be looking for more in the series soon so lets hope that they release some more soon.  Lily Learns about Wants and Needs (Cloverleaf Books - Money Basics) by Lisa Bullard, Christine M. Schneider and Ella Earns Her Own Money (Cloverleaf Books: Money Basics) by Lisa Bullard, Mike Moran.


Lily Learns about Wants and Needs was our first find at the library.  There are "chapters" in the book but they are all short and including the following: Want or Need?, Buying Only What We Need, Everyone Has to Make Choices, and When "Wants" Are Okay.  The first chapter has Lily telling her Dad that she needs a new bike so that she can play outside more.  Her father explains that she needs exercise by she can ride her old bike or do other activities so she asks if she can buy a skateboard or roller skates.  The chapter ends with a question for the kids: What is something you want but don't need?  The second chapter goes through the process of buying a rain coat because Lily has outgrown her coat so they look until they find a good sale.  The question at the end of the chapter is Are the things that cost the most always the best choices?  Of course Lily uses it back against her Dad saying that she doesn't need to see the dentist because her teeth have already fallen out.  After going to the dentist, Lily asks to go bowling or play mini golf but her Dad takes her to the park and explains that it doesn't cost any money.  There are questions about getting ice cream from the ice cream man and root beer at the grocery store and how they are skipped because they are wants.  Then the last chapter talks about how you have everything you need and decide to splurge on a want so they go get ice cream.

I loved all of the examples in the book because my son seems to think (as I am sure many other kids do) that they should have everything that they want.  It is hard to explain to a kid that you can splurge and buy an entire container of ice cream sandwiches at the grocery store for less than it cost to get only one at the ice cream man so that he can share with the whole family and have them all week.  We like to save and buy things that we need on sale so that we can keep the most money and not have to waste it but my son is starting to get his own money.  I told him the other day that I wanted him to be careful with his sunglasses because they could easily break and I wasn't going to buy another pair.  He told me that he had his own money to buy them.  I told him that it is better to save instead of wasting it on something because you weren't careful with what you had.  This book is the perfect answer to these issues that kids start bringing up as they get older.

The second book we read was Ella Earns Her Own Money.  Ella decides that she wants a soccer ball so she works really hard to get it by earning the $20 that it costs to buy it.  The book has her divide her money into Save, Share and Spend jars.  She works extra hard to get the money by doing her chores and extra chores like cleaning out the car for an extra dollar.  She made posters and put them around town to get other jobs like weeding or washing a dog for the neighbor to earn another $3.  She watched a kid and played with her old soccer ball (even though her new one would be much more fun).  In the third chapter, there is buying and selling when Ella sells an old game and buys gum for $1.  Then she made some bracelets to sell.  Chapter Four is it all adds up when she finally earns enough money for a soccer ball but she is too tired to get it that day and tells her mom that she will get it tomorrow!

I enjoyed this book as well but honestly not as much as the first one just because I thought that the first one was more dealing with the issues that we were currently dealing with but it was still really great.  It gave the examples of how kids work to earn money and how long it takes to get something big that you want by waiting and saving.  I know that this is going to be hard because there are so many things that he wants to get and being patient and earning the money is going to probably be our next hurdle so if you are dealing with this now, it is the perfect book for you.  In the back of the book, there was a section with a money chart and how they could make their own to chart the money they are saving for the item that they want.

I hope that you enjoy these books as much as we did!  Check them out the next time you are at the library or the bookstore and I promise you will be impressed.  They give all the information that you expect be provided to the kid without promising anything that kids will want more answers to.  I hope that you check them out and love the series as much as we have!

Wednesday, August 27, 2014

Kid Wednesday: Three Dimensional Shapes Learning through Making a Poster

My son got really bored one day and requested activities when I had none planned so I had to make up a plan very quickly.  Luckily I had planned to do this one but I really wasn't ready.  I love Teachers Pay Teachers and found lots of fun activities to do on the website.  This was one that I was still holding on to and hadn't done.  I loved it so much that I started following her store and checked out all of her other fun activities so make sure you do too!!

We went to find a big piece of paper to start with.  I got some painters tape to hang it on the wall so that we didn't damage the paint.  I started by cutting all of the papers and mixing them up.  My son looked at the papers on the table and I delayed him by telling him to pick a color marker and outline the shape on the page.  That gave me just enough time to attach the categories to the top of the paper.


He picked the one that he wanted to start with and put all of the names on the paper first.  We went through a lot of glue sticks in this in case you can't see how much glue he had on the first few shapes.


After putting on the names of the shapes, he was excited to put on the sides and jumped around to put up the one that he read next on the sign.  Then came his favorite column which was the real things to make the kids understand how the shapes relates to real things that they see every day.


The one that he liked was the marshmallow, paper towel roll and glue stick...for some reason this made him laugh.


He was pretty excited about the final poster and was super excited to show it to his father when he came home.  We have the poster rolled up so that we can pull it out whenever he wants to check out his handy work.


There is a lot of education in such a simple task.  The shapes are not the regular one dimensional shapes that kids learn first but neat three dimensional shapes.  Make sure you check out the great free file on Teachers Pay Teachers here.

My son has been really interested in three dimensional shapes since watching an episode of Peg + Cat.  If you want to check out more of the Peg + Cat activities and games, check out the website here.  There are lots of things to do to follow up with shapes and math ideas.  Hope you enjoy this fun activity and try it for yourself.  Make sure you download it now to have when you are ready!

Wednesday, August 20, 2014

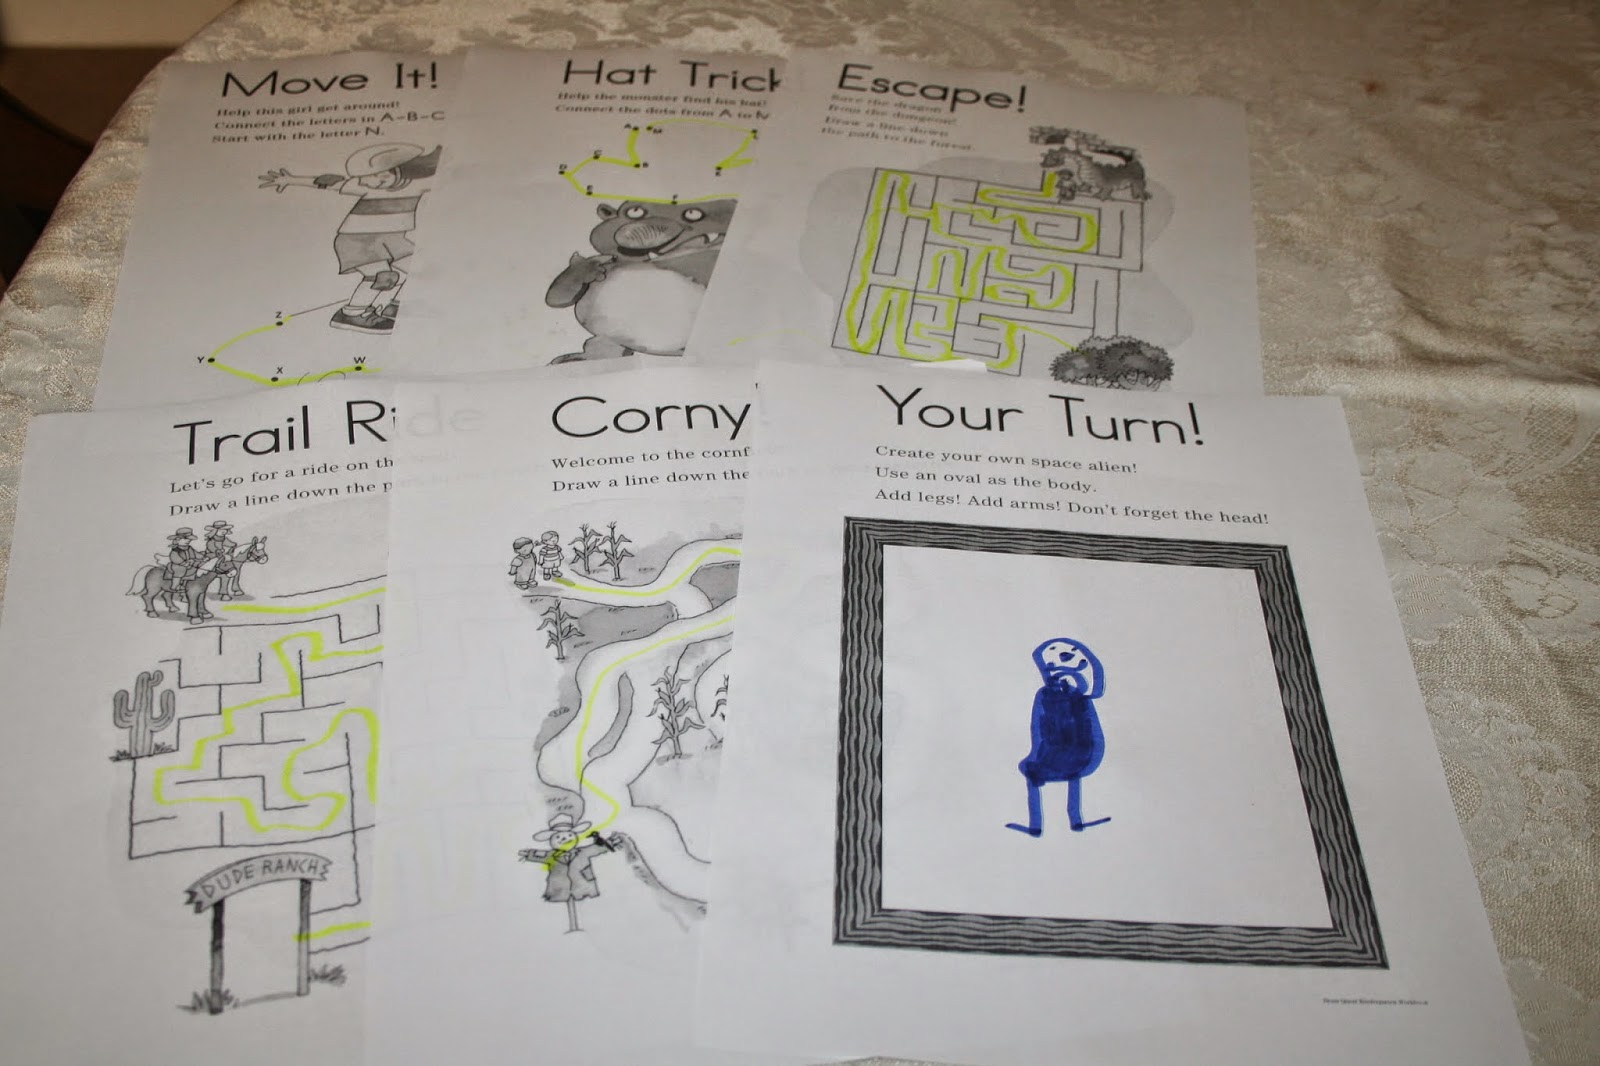
Kid Wednesday: Brain Quest Worsheets

I am always in search of interesting things to entertain my son especially while I am trying to cook dinner.  It seems that no matter what we do all week, he is ready to attach to my leg when I need to cook dinner (and he is 5 now)!  I put some of these sheets on the table and I got to fix dinner while just coming out to switch papers ever once in awhile.  If you are looking for something fun to keep your kids entertained and give you a free hand to fold laundry or make dinner check out the Brain Quest website.

They have a puzzler, coloring page, and a packet for kindergarten through fourth grade.  I printed out the ones for kindergarten through second grade for my son to try.  He went through the kindergarten ones quickly while I was trying to make dinner.  He picked the brightest of all of his markers so it looks like he did it with a highlighter but he had a blast with them.


We did the first grade ones the next morning.  He enjoyed them a lot too but he declared that the one with all the numbers was a two part one and left it to finish later in the day because his hand was tired of writing the numbers.  These were all pretty easy ones for him too.


I printed the Second Grade activity sheets which looked a lot harder then the first grade ones but I figured that they would be good if we did them together.  He did the clock one called My Times and the Silent Letters by himself.  I worked with him on the synonyms because they were a little harder but didn't take a picture of them.  The great thing is that they lasted longer because my son didn't just race through them.


These were really fun and gave me a better idea on which Brain Quest cards I should buy my son.  I hope that you check them out and see if your kids enjoy them too.  Always good to have a few things on hand when the kids get restless!!

Wednesday, June 25, 2014

Kids Wednesday: Hole Punching

I have been searching forever for my hole punch.  I put it in a really smart spot but I couldn't figure out where that was.  Do you ever do that?  I sadly do it way too often.

There is a reason that everything should have a spot but once I gave up my office for the nursery, all of my stuff got misplaced because there was no longer anywhere to put it.  I have tried to go through and get rid of things that I didn't need and put things together but I still couldn't find the single hole punch.  I was going to go out buy another one but that makes me crazy because I know it is in the house somewhere.  I borrowed a few doing the year to different shapes from my son's preschool and anything else I had to smoosh into the three hole punch to make one hole at a time.

I was cleaning out the basket on the stairs and I found it.  Why on earth was it in that basket?  I guess it was with ribbons and things that I must have use to attach cards to something ages ago.  I am glad that I stuck with it and now I was excited to find lots of things to do with my hole punch when I saw an activity that my son could do with it!!!!

I picked out this one because it looked fun to pick out all the numbers.  It is a great hand eye coordination to use the hole punch and get it on the paper as well as patience to get them all.  It printed two of the same number on the page and then you could cut them in half.  I decided that since I only have one kid and I don't like to waste the paper that I would turn the second half into the "teens."  I turned the 1 card into 11 and the 2 into 12.  I thought that it would make it last a little longer and test more numbers.  It was great to make my son stop and pay attention to the different writing styles.


I thought this one was amazing and you could make your own based on whatever your kids are learning about.  This one does counting and then some adding and subtracting.  It was perfect for some morning work to keep numbers into our weekly learning.  Plus sometimes I need an activity to hold him over while I am making dinner and this is perfect!!!  It seems that you could easily move this into multiplication. 


Of course my son thought it needed an equal sign so he had to make one on each as he did the problem.


If your kids are still working at the hand eye coordination and you would like to do it but they aren't adding numbers, there is a great activity to do with do with pictures here.  We didn't do that one but it looks like it is a lot of fun.  The pictures are bright and colorful if you print them in color or different enough that you can print and black and white.


There are so many ideas such as using punch cards or making your own.  Here is a template of a tooth for dental health or before going to the dentist.  It is an easy shape but you could use the idea to make your own so that your kids can practice stitching up the holes.  It is more great hand eye coordination with the use of the trusty hole punch!  We already have our lace up cards that my son loves that I got through Scholastic Book orders from his school.  I had to add an extra shoelace for one because my son wanted them to be color coordinated but lace up cards are fun whether you buy or make them!


I hope that you have lots of fun with your hole punch and I look forward to making lots of different new crafts with the hole punch.