Showing posts with label Breakfast. Show all posts

Tuesday, April 21, 2020

Coconut Almond Granola

I have been really into watching YouTube videos since a little before we got trapped in the house but it has gone to a higher level since I have been looking at different recipes.  I was watching tons of videos and thought that I would enjoy this recipe as soon as I saw it.  If you want to check it out, feel free to check it out here at Frugal Fit Mom.

I was so excited to find all the ingredients in the house to make and they were things that I had no plans to use.  I was happy to pull everything out to assure that I could make it.  The oats were in the basement fridge in a container that I combined a few different oats that I used to keep in the freezer but the freezer has been so full it was moved into the refrigerator.  I found the coconut in the fridge too (also displaced from the freezer).  The sliced almonds were in the freezer.  I just got some honey from a neighborhood friend and Mexican vanilla from my mother in law. 


I measured the oats to see if we had enough and I was excited that I had plenty.  I moved what was left into my smaller container in the fridge so I was sad that I didn't have enough for a second batch.


I added coconut which was the entire the bag.  It was sweetened coconut which I am not even sure how long ago that I bought it but it needed to be used.  I have had this in the freezer for a long time but with all of the stocking up it came out and went into the downstairs fridge so I was glad to find a tasty use so that I would enjoy the coconut.


I mixed in the almonds with the rest of the dried ingredients.  Another thing out of the freezer to use for yummy food.


 The next step was the cinnamon which I am super happy to say that I still have some from Amish country that my parents bought me.  I super love the added flavor so I put in a bunch of cinnamon.


I was a little worried because the first container was near empty and I had to go searching through the pantry to dig it out.  It was a little shocked at the price difference in these two containers.  My parents normally get this for me for holidays from the Amish markets that they go to in Pennsylvania.


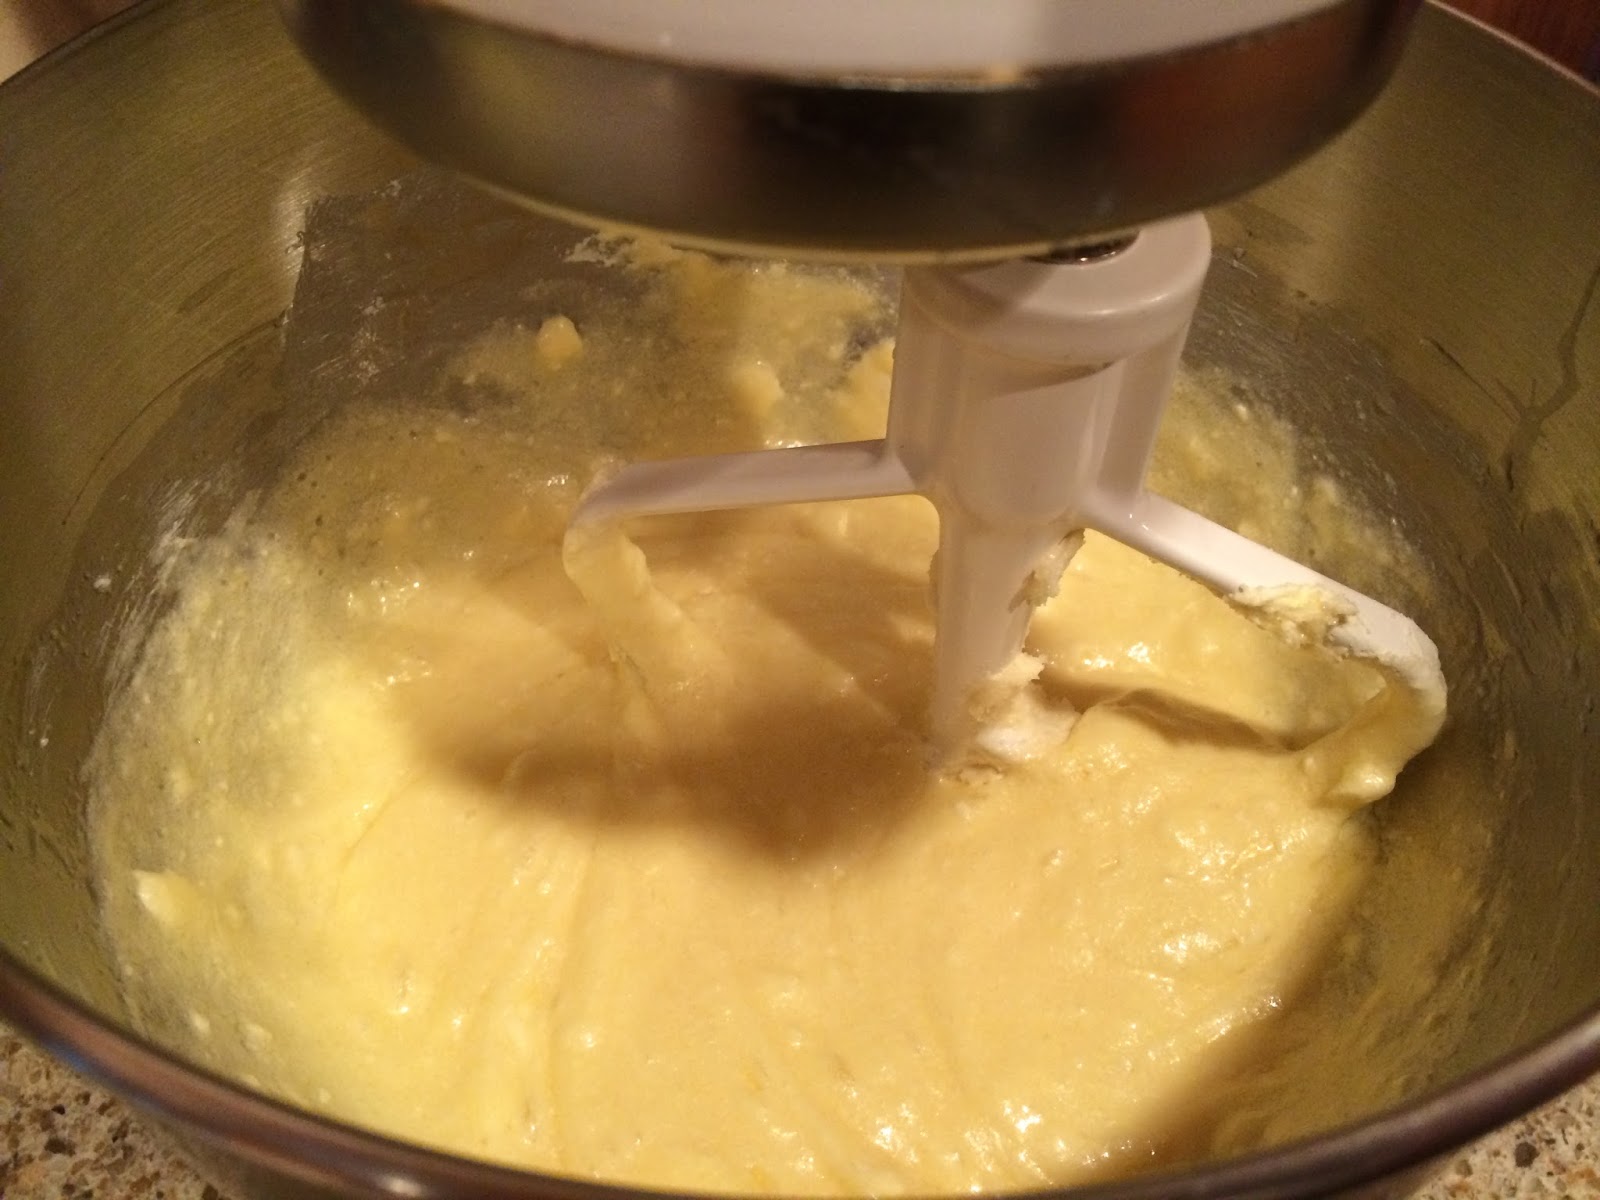
I mixed in the wet ingredients and mixed it all up.  It doesn't look a lot different on camera but it is was actually much more wet then I thought it would be.


The hardest part was that it three cookie sheets full and I only have two cookie sheets so I had to pull out another


It was bake one at a time for 7 minutes and then 5 minutes and another 5 minutes.  I probably could have cooked them one more time but they were starting to get browned and I didn't want to burn them.


Super happy to have about two boxes of cereal worth of granola and it is the most tasty!  I might even have to buy the ingredients to make this for myself after we get back to normal grocery store routine.


I hope that you check out this recipe because it was amazing!  It is good with and without dried fruit.  My father bought my favorite dried cherries from Trader Joe's so I was happy to add those to my morning granola when I ate them.  You could also mix them in and store them but I wasn't sure how I would prefer it.  I like it both ways so I was glad that I left the fruit on the side.

I hope that you check it out and make it for yourself.  I think that this is totally flexible recipe that you can make with ingredients that you enjoy.  I have really enjoyed having it around for breakfast or a snack.  It is super filling and stays with you through the day.  After making it, I literally told everyone that I talked to that they needed to make this because I was that excited about it.  I ate so much when it came out of the oven that I wasn't hungry for the next two meals so make sure you take it slow and don't sample too much.

Coconut Almond Granola

Ingredients:

8 cups oats 
1 bag coconut (14 oz)
4 tbsp cinnamon 
Sprinkle cloves and nutmeg 
1 tsp salt 
1- 1 1/2 c. Sliced almonds(or nut of choice)
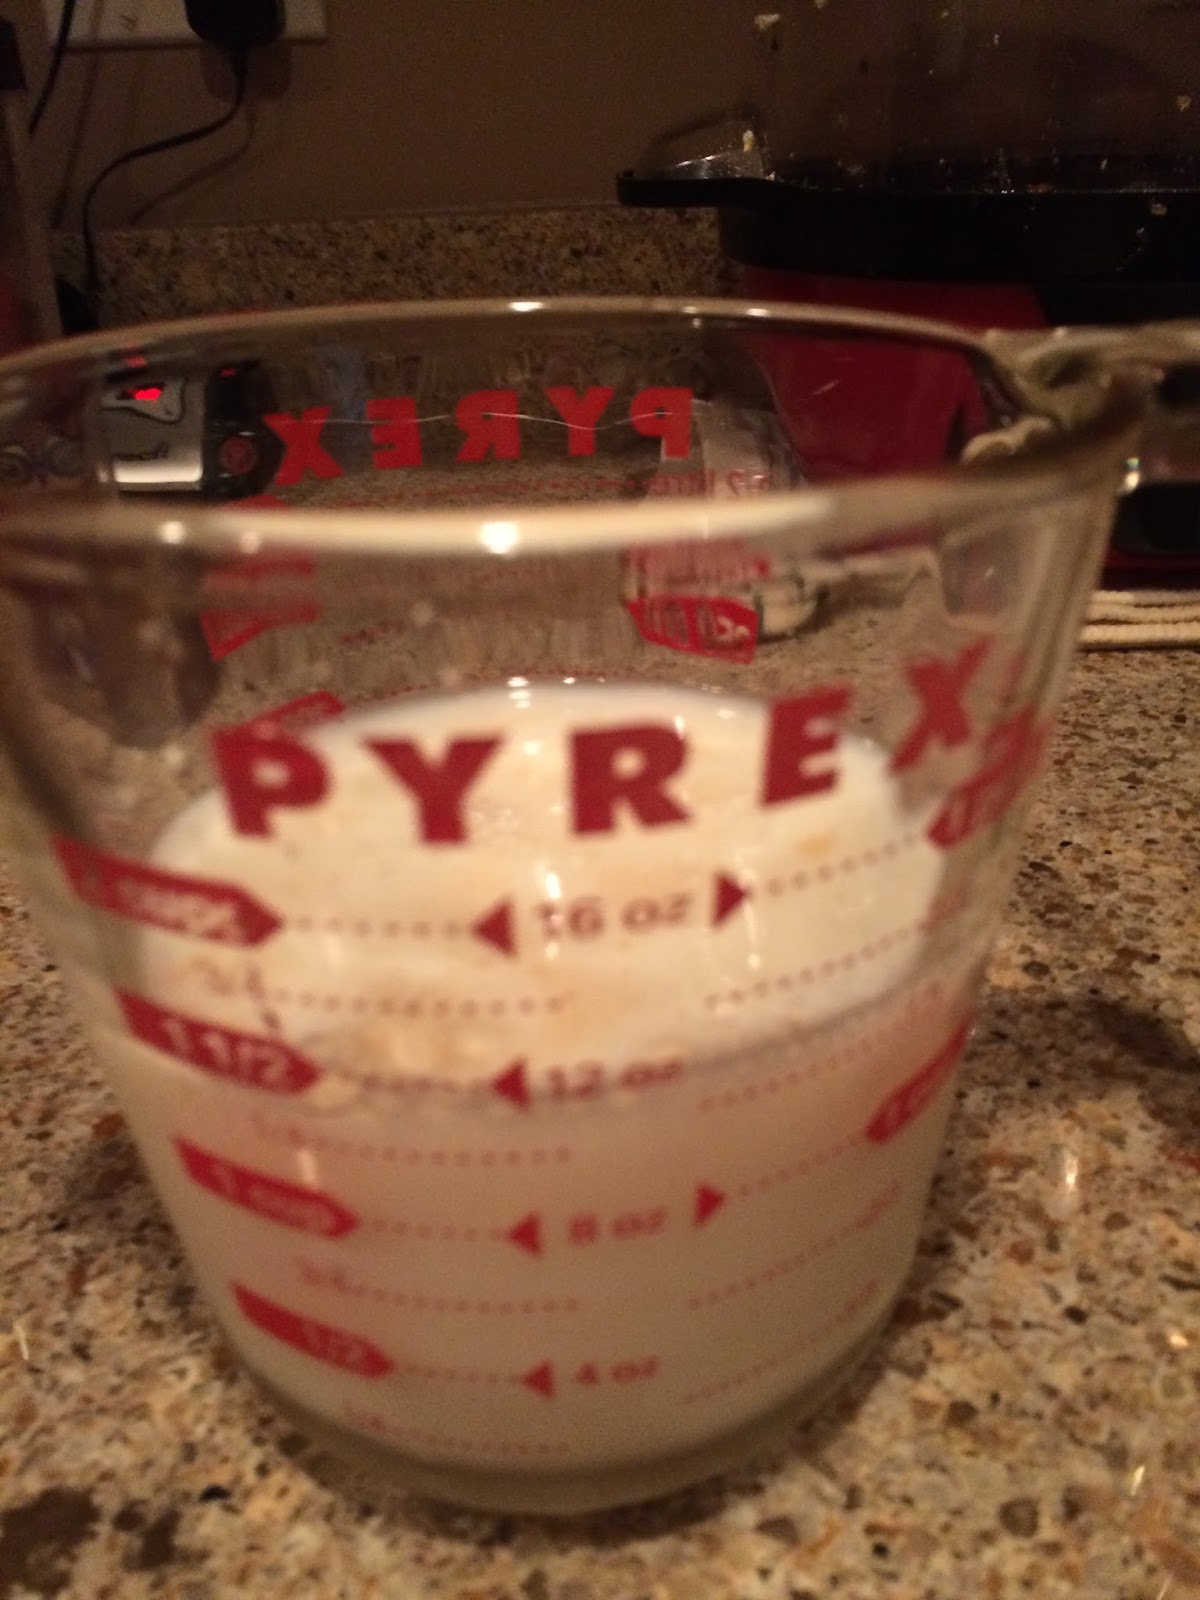
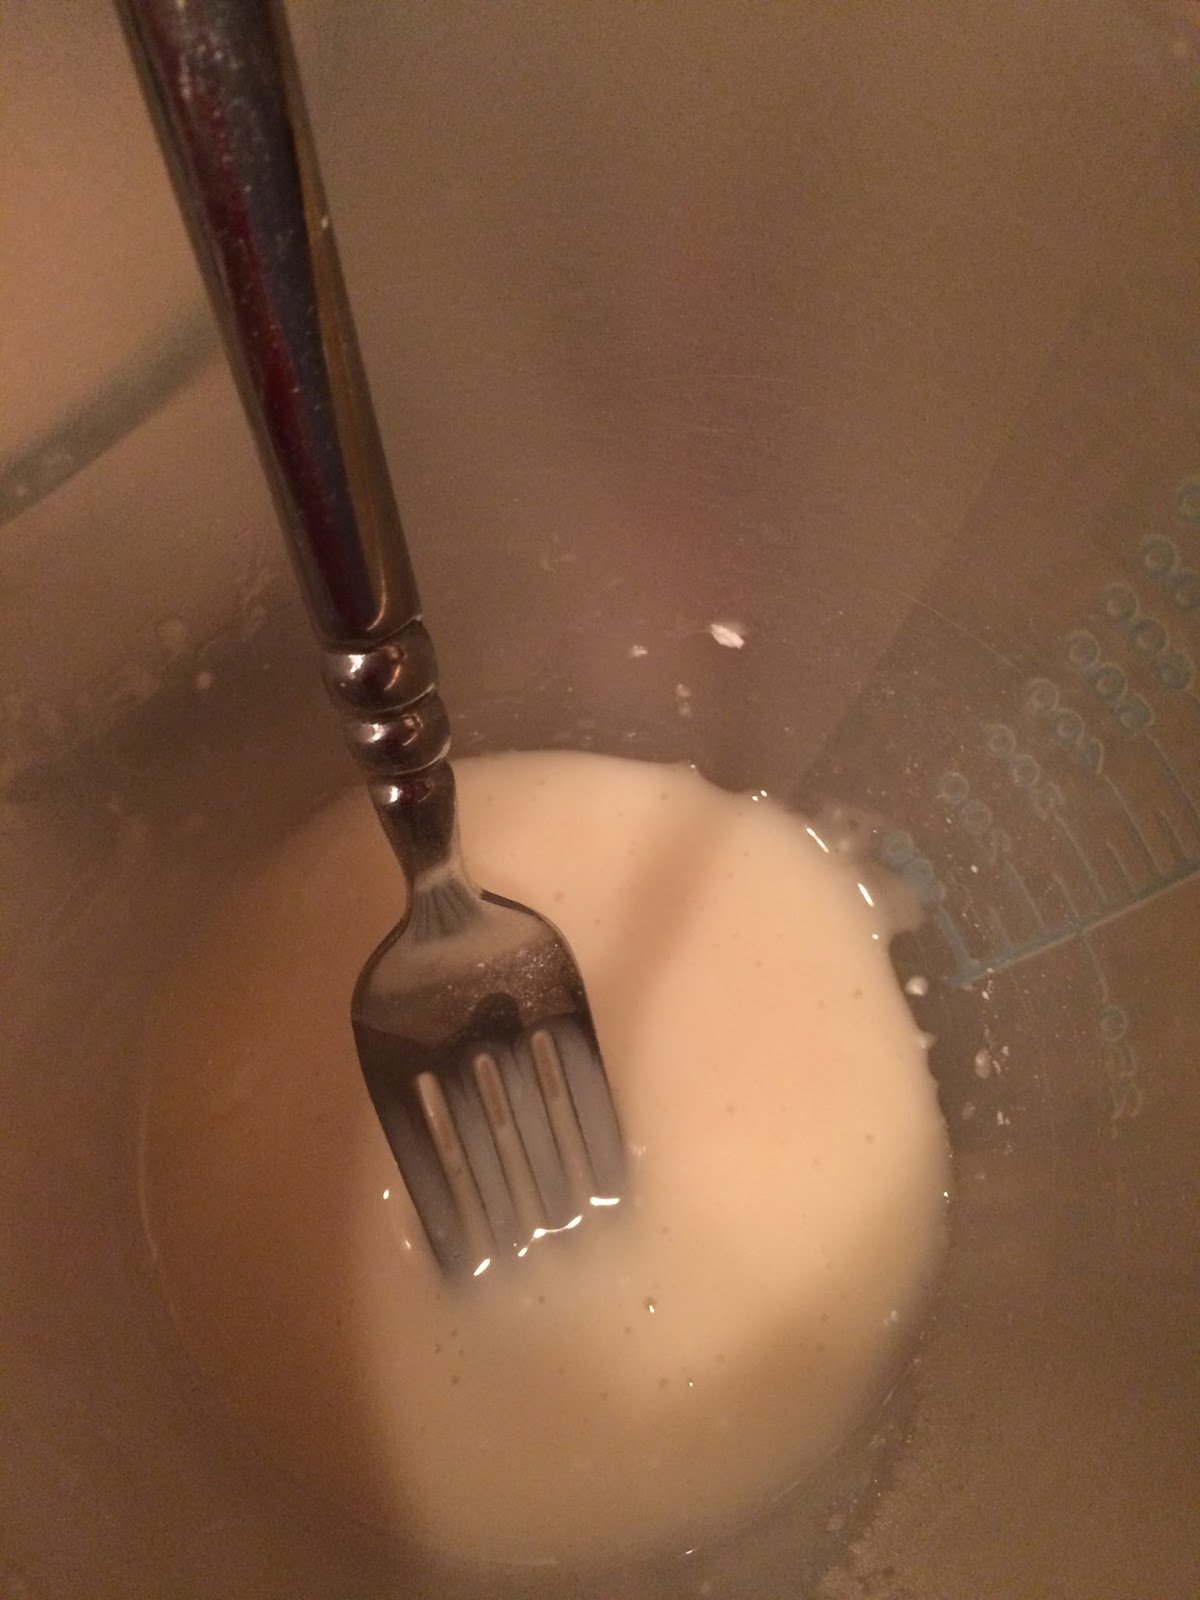
1 cup honey 
2/3 cup oil 
2 tsp vanilla 

Mix the dry ingredients together in a large bowl.  Add the liquid ingredients and mix until combined:  Spread on 3 baking sheets.  Bake at 400 degrees for 7 minutes rotating pans. Stir each time a pan comes out of the oven.  Put them in for 5 minutes the second time and stir when removing.  Bake for additional 5 minutes if needed until lightly browned and watch for burning.  Let cool on the counter. Add dried fruit after cooled and put in sealed containers.

Tuesday, October 17, 2017

Apple Fritters

I have been wanting to make a recipes for apple fritters since I bought the Luck's Fried Apples at the grocery store as a money maker.  I knew that they would be great for these apple fritters because I don't like raw apples in things so I knew that these would make it better because they would be cooked through with the short cook time.  Although I think that you could use whatever works best and what you have on hand.


I mixed the dry ingredients in my bowl.


I didn't have buttermilk because I never do but I used some white vinegar in the milk to make the buttermilk.

I heated up some canola oil in a medium sized pan.

I took the apples out of the container and cut them into small pieces.

In a bowl, I whisked the egg whites until they were bubbly but I probably should have gone longer but my family was sleeping and it was loud.


I put the yolks in the buttermilk and mixed them together.

Mixed the wet ingredients into the dry ingredients.

They combine into a thick and sticky batter.

Then I added the egg whites to the mixture and folded it in. 


It turns into a shiny mixture that has a little more air incorporated.


After mixing in the apples, you can see the high gloss finish in the dough.


I made the glaze with apple cider and powdered sugar and set that aside until the fritters were a little cooled.

Dunked them in here catching both sides with the glaze until they were coated with the glaze.


They sat on this tray so that the sugar would have a chance to stick to both sides.  I made the first few without the apples because I wanted my son to try it but it turns out that the apples add a lot of texture that is needed and the ones without apples were not good.

 I learned after the first few that I needed to cook longer on both sides and it was tastier and crunchier if I could drip it into the oil a little more like funnel cake because it make it is a little bumpier then just putting one spoonful in.


Although we enjoyed eating them, these were not the recipe that we will make again.  I am still in search of one that works for our family so stay tuned for another recipe soon.  I am sure that I didn't do things exactly the same as the original recipe but I hope that you check out her blog here.

Apple Fritters
2 cups all purpose flour
pinch of salt
2 teaspoons cinnamon
1/4 teaspoon nutmeg
1 teaspoon baking powder
1 Tablespoon sugar
1 1/4 cups milk with vinegar (or buttermilk)
2 eggs, separated
1 1/2 cups finely diced apples (I used canned)

Vegetable Oil for Frying

Powdered sugar
Apple Cider/Juice


1. Mix together flour, sugar, baking powder, salt, cinnamon and nutmeg. Set aside.
2. In a small bowl mix together buttermilk and egg yolks and add to flour mixture. Stir just until mixed thoroughly.

3. Beat egg whites until stiff. Fold beaten egg whites gently into batter. 

4. Fold in finely diced apples.


5. Heat oil in flat pan then drop batter by a tablespoon into hot oil. Cook one side until golden brown then flip over and cook other side until golden brown.


6. Remove hot fritters and allow to drain on paper towels until cooled so glaze can stick.


7. Mix powdered sugar and apple cider/juice in a small bowl until it is the consistency of thin icing. Dip warm fritter in icing flipping to coat both sides.
 
8. Return iced fritter to rack for any excess icing to drain and icing to set. Eat warm or cooled!

Wednesday, October 11, 2017

Cinnamon Roll Waffle Dippers

I was looking for something fun to make for breakfast that wouldn't take a lot of effort.  I decided that I would try the cinnamon rolls that I got at super doubles for free.  Don't these look boring!


In order to make them more interesting to my son, I brought out the waffle maker and turned them into Cinnamon Roll Waffle Dippers.  I put one biscuit on each side of the warmed waffle maker.  I normally don't have to grease my waffle maker but do whatever works well with your waffle maker.  After they were done cooking, they released fairly easily with a fork.


The biscuits came out looking like this little waffles.


I made some with two biscuits in each side which made longer waffle looking strips.  I cut them up so that my son could pick them up and dip them in the icing.  In order to make the icing into a glaze, it just needed to be microwaved for 10 seconds and it made a great dipping sauce that my son and I both loved. 


Think you are too busy to make waffles?  Grab some cinnamon rolls and make these tasty treats!  I promise they will be a favorite of your family too!

Friday, September 18, 2015

Cherry Coffee Cake from Gather Around the Amish Table Cookbook

I woke up on the weekend after reading the Gather Around the Amish Table Cookbook and I was inspired to start cooking some of the recipes. (see full review for the whole book here)


I decided to start with the cherry coffee cake because I had all the ingredients and it was still breakfast time so it would be fun to have a breakfast treat.


I pulled out all the ingredients just to be super sure that I had everything that I thought that I did in the new kitchen.  The only thing that I was running really low on was stick butter so I used a little of the coconut oil Melt that I got.  I love the flavor of coconut oil but I tried it on some things and it wasn't what I expected.  I have been using it in my loaves of bread which have been really tasty so I figured that this would be perfect for this recipe.


 I measured the butter and sugar and put them in the mixing bowl.


I creamed the butter and sugar until they were incorporated.


Then, I started adding the eggs one at a time.


I added the dry ingredients to the mixture.


Then, I mixed the batter together.  It made a thick batter but I expected it to be a little thicker like cookie batter so I sat down to try to remember if I missed any flour but after a few seconds of pondering, I was sure that I counted right.  If your cake turns out different, let me know because I didn't put in the right measurement of flour.


I greased the pan and spread the layer across the pan.  It said to use 2/3 and I am not sure how close I got but it seemed like I was pretty close.


I opened up the can of cherry pie filling with my can opener and spread it across the batter.  It looked so good and I wanted to steal a cherry but I left them all there....I might have licked the spatula with the cherry goodness.


Then came the hardest step (other then not eating the canned cherries with a fork), putting the batter on top by spoonfuls.  I figured that it didn't have to be pretty so here is what mine looked like in the new oven and ready to bake.


The top spread out really nicely while cooking to make a wonderful finished product.  Mine took a little on the longer side to start to brown (although the recipe said nothing about browning but I thought it would look better).


The top was very pretty with the cherry peaking out but it wasn't a lot because the dough on top spread out a lot in the baking process.


We ate a few sliced hot out of the oven and a few after they cooled off and a few the next day.  I think that this is one treat that does taste better cooled off and maybe even the next day.  They were tasty and interesting because I was still thinking that it was going to turn out more like a sugar cookie with cherries in the middle but this was a nice big slice of cake that had great flavor.  When served hot, I thought that cake was a little dry but after you let it sit (like you are supposed to but I never have patience for), the moisture soaks into the cake.  It was like a really good shortcake recipe that you could make ahead almost as tasty as a pound cake without being as heavy.


I hope that you enjoy it as much as we did.  I would like to share but there is none left.  

The recipe called for an icing glaze which I thought might be nice but my husband doesn't like icing so we tried it just as it was.  I hope that you try it and let me know what you think with or without the glaze!

Cherry Coffee Cake

Ingredients:

1 cup butter or margarine
1 1/4 cups sugar
4 eggs
1 teaspoon vanilla
3 cups flour
1/2 teaspoon salt
1½ teaspoons baking powder
1 can cherry pie filling (21 oz)

Cream the butter and sugar. Add eggs, one at a time. Beat well after each. Add vanilla. Blend in remaining ingredients except cherry pie filling including flour, baking powder and salt. Spread 2/3 of dough in a greased 9 x 13 pan. Cover with pie filling and spoon the rest of the batter on top. Bake for 30 to 40 minutes at 350° F or until golden brown.

Glaze (optional):

1 cup confectioners' sugar
1 tablespoons butter, melted
2 tablespoon milk


Gradually add the powdered sugar to the melted butter, beating well after each addition and scraping down the sides frequently. Then add the milk (use warm milk to make thin consistency), 1 tbsp at a time until the glaze is smooth. Drizzle over warm coffeecake.


Other options:  Bake in a jelly roll pan (10½" x 15½") for a thinner coffee cake which will feed more people if serving a crowd.  Bake for 20 to 30 minutes at 350° F or until golden brown.

Tuesday, July 1, 2014

Cranberry Orange Bran Muffins

I saw a recipe for Cranberry Orange muffins and that seemed like a perfect recipe to try for my mom's visit.  The more I thought about it, the more I wanted to make my bran muffin recipe and mix it up a little.  I keep feeling like this is a recipe that has a lot of merit but I haven't mastered a recipe that has been a crowd pleaser made plain, with raisins, or blueberries.  I decide to punch it up with orange and cranberry!  It seemed like a brillant idea.

I started by zesting the outside of the orange.  I used my little grater/zester because it fit right in the container so that I could do it ahead of time and stick in the fridge (because when cooking around summer schedules, you have to get in the steps you can ahead of time).  But if you don't have a cute little grater, the full size one works just fine.


Then, I took the cereal and smooshed it up.  I am still not really sure about this step but it seems to make sense to me so I do it while the bag is still sealed because it is a lot less messy.  You can get out a little frustration on the bag by punching (lightly) with your hands and fingers.  I move all the cereal around in the bag until  I get everything an even size.  The bag goes from super full looking to a slightly sad amount at the bottom of the bag.


The first step is to let the cereal sit for a few minutes in the milk to soften up the cereal.  I figure that if you don't crush it then it just take a little longer to fall apart.  I decided to use the coffee creamer this time because I have some that I got for free at the store and I figured that it would make it taste a little more like the buttermilk version.


While the cereal was soaking, I measured the cranberries.


I decided to plump the cranberries in some hot water like I normally do with my raisins.  I am not sure if it worked as well with the cranberries but some of them plumped up while they got more hydrated.  The most plump ones floated to the top.


The next step is to mix in the egg and the oil.

Then, I added the orange zest.


Add in dried cranberries to mixture.  I decided to go with one cup because I had a lot of cranberries that I got free from a sale so it seemed like I should try the high number now while I had a bunch.  If you want, you can add to taste.


Add in the dry ingredients and it is starting to look like muffin batter but mine was a little dry so I added a few drops of orange juice from the orange that I zested.


I put them in my two smaller muffin tins because I feel like they make a deeper muffin then my other muffin pan and then realized that this would make almost 24 muffins.  I don't like to use the paper cups because I feel like you loose some of the muffin on the paper so I grease my muffin tins before adding the batter.  Feel free to choose whatever might be your family favorite.


Then they are put in to bake!


They are best fresh out of the oven (maybe with a little butter).


I broke one open to see the texture inside and see how many cranberries were inside.  The muffin smelled like orange and was very tasty.


I hope that you make these soon and see if you like this version a little more then the basic recipe.  If you want, mix it up with any ingredients that you think would taste yummy!

Cranberry Orange Bran Muffins
Ingredients
  • 1 1/4 cups all-purpose flour
  • 3 teaspoons baking powder
  • 1/2 teaspoon salt
  • 1/2 cup sugar
  • 3 cups Total Bran cereal or any other bran cereal
  • 1 cup of dried cranberries
  • 1/2 of an orange zested
  • 1 1/4 cups creamer (or milk or buttermilk)
  • 1 egg
  • 1/3 cup vegetable oil (or shortening)
Directions
1. Crush Bran cereal while still in bag.
2. Measure Bran cereal and creamer into mixing bowl. Stir to combine. Let stand 1 to 2 minutes or until cereal softens. Add egg and vegetable oil. Beat well.
3. Add orange zest and cranberries.
4. Add flour and dry ingredients to cereal mixture, stirring only until combined. Portion batter evenly into muffin pan cups coated with cooking spray.
4. Bake at 400° F for 25 minutes or until golden brown. Serve warm.