Showing posts with label Quick Bread. Show all posts

Tuesday, April 14, 2020

Gingerbread Loaf Recipe

I got this recipe in January and tried it out right away. We are sort of getting into the old ruts but I decided that I was going to try this one as soon as I saw it so I printed it out right away.  I added it to my weekend to do list and I actually got it done.  Of course I totally didn't post any of the pictures to share with you.  Now I am inside and trying to get caught up on all of the things on my to do list and I decided that even though the weather is getting warmer, it is about time that I shared this amazing gingerbread and it made me want to make it again.  Check out the original recipe here.


I got out all of the ingredients that we needed which are all pantry staple ingredients for us.


I measured to put the molasses in the bowl.


I put the molasses and the butter in the bowl. 


I added hot water which melted down the butter.


It was super easy to mix together after everything melted.


I got the butter fully melted and it was so fragrant and nicely thinned out so it wouldn't be so sticky to pour into the dry ingredients.


I mixed the dry ingredients in the mixing bowl.  Of course I used the one on the mixer but then looked back and realized that I totally didn't need a mixer for this recipe because the liquid ingredients were all smooth so this was easy to mix together.


Since I already had it in the blender, I figured that I would use it.  I added the liquid ingredients to the dry ingredients and mixed.


It mixed up to look like a bread already and smelled even more amazing.


I put it in the greased bread pan ready to bake.


Did I mention how great it smelled?  I might have cut into it before I actually took a picture.  Oops!!  It turned out really dark brown and made the house smell amazing.


The best part is that I really wanted to have gingerbread and this was wonderful rich option.


My husband said that he kept looking at it and thinking that it was chocolate cake so he wasn't as excited about it because it obviously didn't taste like chocolate cake.  It tasted like yummy gingerbread and I can't wait to make it again.

Classic Gingerbread Loaf 


Ingredients
  • 2/3 Cup Boiling Water
  • 2/3 Cup Molasses
  • 1/4 Cup Unsalted Butter
  • 1 Large Egg
  • 1 1/2 Cups All Purpose Flour
  • 1/2 Tsp Salt
  • 2 Tsp Ground Ginger
  • 1 Tsp Ground Cinnamon
  • 1/4 Tsp Ground Cloves
  • 1 Tsp Baking Soda

Instructions : 

Preheat oven to 350° and grease loaf pan.  Combine wet ingredients in one bowl, add molasses and butter. Add boiling water and stir until butter melts and all is combined. Put boiling water in measuring cup used to add molasses to clean the cup and get every last drop of molasses. Allow to cool while combining dry ingredients.  Combine dry ingredients in another bowl, combine flour, salt, ginger, cinnamon, cloves, and baking soda. Whisk until combined. 

When bowl of wet ingredients is cool to the touch, whisk in egg. Pour wet ingredients into bowl of dry ingredients. Stir to make batter.  Pour batter into greased pan. Bake for 35 minutes or until toothpick inserted in middle comes out dry.

Friday, March 9, 2018

Bakery Chocolate Chip Muffin Recipe

I taught a couponing class and the host made me some yummy muffins!!  Afterwards, she sent me home with some...which I started eating on the car ride home because the smell was too much for me to resist.  Although I held back and saved one for my husband and one for the next morning, they were gone too quickly so I asked for the recipe (found here).  Her's were better but that is totally true of any baked goods that you don't have to make yourself!!!

I decided that I was going to make these with my son after school but I wanted to do a little bit of the prep work before so that I could still get dinner going so I pulled out all the dry ingredients.  He loves to be my sous chef but sometimes I have less patience later in the day so it is better to have a little bit of the work done ahead.


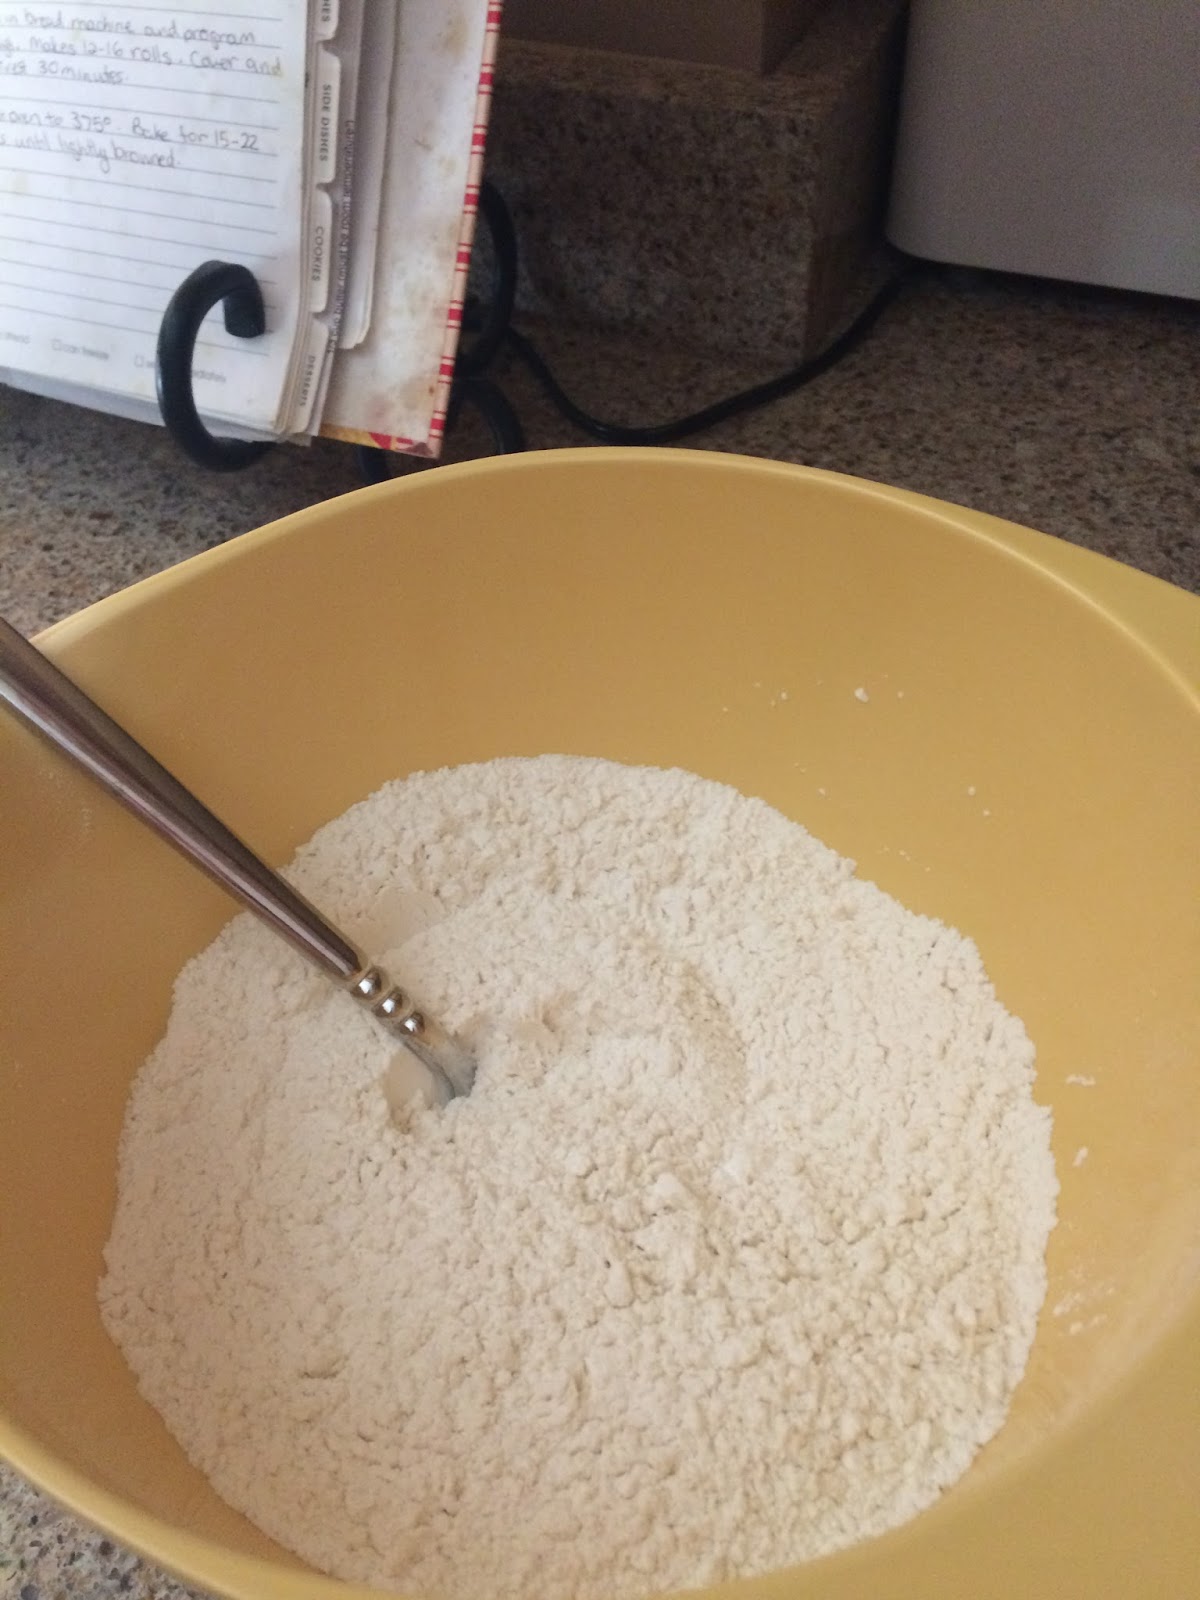
I added them to the bowl and mixed with a fork.


I added both mini chips and regular chips so that we have different sized chocolates but use whatever you have in the house.


I mixed them all together.


I put the stick of butter in a microwave safe bowl so that my son could melt it after school.  I would normally just use a measuring cup but I knew that we had to add some other ingredients so I went with the bigger bowl.


I measured the sugar and got out the eggs and vanilla to go into the melted butter.


Everything was set and ready to go for my son to help me make these bakery style muffins.  My son was excited to start after school so he melted the butter and mixed in the sugar.


He got a mixture that in his words looked almost the same but the sugar was dissolved.


He then measured milk and poured it into the bowl with the vanilla if you can see the brown outline in the bowl already.  He even slowed down so that I could take a picture of the pouring process.


The liquids then looked like a lighter mixture and we needed the last ingredient which was the eggs.  I had him crack them into the measuring cup so that we could pull out any shells but if you are confident that you aren't going to get shells, you can do it straight into the bowl but always good to have a precaution when you are dealing with a little helper.


The liquids were ready to add into the dry ingredients.


The dry ingredients mixed together with the liquids but I think that we were so excited that we didn't take a picture until they were in the muffin tins.  We made 24 muffins with this recipe and I made half plain and the other half like my old recipe with sugar and a few more chocolate chips on top to make it extra tasty.


We baked them while we got the rest of the dinner made.  The muffins turned out great with chocolate and sugar on the top and plain but I think that I am totally changing to this recipe now!


We enjoyed them a lot!!


I think that my husband was a little sad when they were all gone but I am going to mix up a few of the dry ingredients to have on hand in the pantry for the next time for sure!!  Hope that you check out this recipe for yourself and see if you enjoy it as much as I have.

Bakery Style Chocolate Chip Muffins

Ingredients:

  • 2 ½ cups (308g) all-purpose flour
  • 1 tbsp (13g) baking powder
  • 1 tsp (5g) baking soda
  • ½ tsp (2.5g) salt
  • ½ cup (114g) unsalted butter, melted and cooled
  • 1 cup (200g) granulated sugar
  • 2 large eggs
  • 1 cup (250ml) milk (whole or buttermilk is preferred)
  • 1 tbsp (15ml) vanilla extract
  • 1 ½ cups (275g) chocolate chips (any size)
Instructions:
  1. Preheat oven to 425°F. Grease 24 cup muffin tray with shortening, non-stick cooking spray or line with paper liners.
  2. In a large bowl, toss together the flour, baking powder, baking soda, salt and chocolate chips. Set aside.
  3. In a medium bowl, whisk together the melted butter, sugar, eggs, milk and vanilla. Slowly add to the dry ingredients. Gently fold together until JUST combined.
  4. Divide the batter into the 24 muffin cups and top with sugar and chocolate chips.  
  5. Bake at 425°F for 5 minutes. Then reduce the oven temperature to 375°F and continue to bake for another 12-15 minutes or until a toothpick inserted into the center comes out clean. Let cool for about 5-10 minutes and enjoy warm.
Notes:

Muffins taste best the day of, but can be stored in an airtight container at room temperature for up to 5 days.

For mini muffins; bake for 10-12 minutes at 375F only.


Tuesday, March 14, 2017

On A Mission of Homemade Jiffy Corn Bread

My husband prefers Jiffy Corn Bread to any homemade bread that I have ever made.  I went to the internet to find a copycat recipe that he would like and I think that I succeeded. I found this one and this one and mixed a few different things.  There was another recipe that I found to make a big batch so if I get to that point, I might try it (you can find it here if you are interested)


I mixed the dry ingredients in a bowl. I was trying to think about the ratio or some of the other recipes that I use and I think that this one might have more flour which is what changes the recipe so much from the other homemade ones.


There is both salt and baking powder in the recipe.  It uses a bunch of baking powder so I was grateful that I got a huge container of baking powder from my mom for Christmas.  I was sure that I was going to be using it a lot!

I mixed all the dry ingredients together and it was pretty smooth.  This is the recipe that will be put in the jar for future recipes so that I have all the dry ingredients ready to make just like it would be with a box mix.  My pantry has my most frequently used recipes and corn bread is a quick and easy one to add to any meal.


This recipe calls for two tablespoons or melted butter or oil to mix into the dry ingredients.  You could do this before or after putting it in the jar but it seems like it would last longer if it was done after so that nothing spoiled or had to be kept in the fridge.


 After mixing the butter into the dry ingredients, I thought that it looked a lot like the standard box mix with some small chunks but mostly plain and ready to mix up.


I measured the milk and mixed in the egg in the measuring cup.


I used a butter wrapper to grease the container.  There is always a little bit of butter left on them and it is like using wax paper which I don't have.  It is super cheap and easy to store and use for later use.


I spread the dough into the 6 x 6 baker and baked at 400 for 15-20 minutes.  It was a little under cooked when I took it out so I put it back in and it was quick to finish baking.


It cooked up okay but the top was a little lumpy and not exactly like the Jiffy look to the corn bread but it tasted great.  We ate it quickly but the leftovers the next day were a little dry so I decided to make another batch with a little more milk which worked great.


I think that this is our new go to recipe with a little more milk because it is super tasty and just like the Jiffy cornbread but homemade from scratch.  I am super excited to find a recipe that my husband will like as much as the store bought mix.  It was one of the only things that I still bought the mix for because it was one of his special treats.  Now we can have it all the time.  I have the two mixes in the cupboard and I have already made it twice!! YUM!  I hope that you make some for yourself.

Copycat Jiffy Cornbread Mix


Ingredients
  • 2/3 cup flour
  • 1/2 cup yellow cornmeal
  • 1/3 cup sugar
  • 1 tablespoon baking powder
  • 1/4 teaspoon salt
  • 2 tablespoons melted butter or vegetable oil
  • 2/3 cup milk
  • 1 egg
Mix dry ingredients and store in airtight jar or use immediately.

Add 2 tablespoons vegetable oil or melted butter, 1/3 cup milk and 1 egg. Mix well.

Spread in greased 6 x 6 baker or spoon into 6 lined muffin tins and bake for 15-20 minutes. If tops start to brown, cover loosely with aluminum foil to stop browning.  Let cool for a little bit before eating.

**Note in order to make it the same as Jiffy, I had to add a lot more milk and it turned out way better the next time!!!

Tuesday, July 1, 2014

Cranberry Orange Bran Muffins

I saw a recipe for Cranberry Orange muffins and that seemed like a perfect recipe to try for my mom's visit.  The more I thought about it, the more I wanted to make my bran muffin recipe and mix it up a little.  I keep feeling like this is a recipe that has a lot of merit but I haven't mastered a recipe that has been a crowd pleaser made plain, with raisins, or blueberries.  I decide to punch it up with orange and cranberry!  It seemed like a brillant idea.

I started by zesting the outside of the orange.  I used my little grater/zester because it fit right in the container so that I could do it ahead of time and stick in the fridge (because when cooking around summer schedules, you have to get in the steps you can ahead of time).  But if you don't have a cute little grater, the full size one works just fine.


Then, I took the cereal and smooshed it up.  I am still not really sure about this step but it seems to make sense to me so I do it while the bag is still sealed because it is a lot less messy.  You can get out a little frustration on the bag by punching (lightly) with your hands and fingers.  I move all the cereal around in the bag until  I get everything an even size.  The bag goes from super full looking to a slightly sad amount at the bottom of the bag.


The first step is to let the cereal sit for a few minutes in the milk to soften up the cereal.  I figure that if you don't crush it then it just take a little longer to fall apart.  I decided to use the coffee creamer this time because I have some that I got for free at the store and I figured that it would make it taste a little more like the buttermilk version.


While the cereal was soaking, I measured the cranberries.


I decided to plump the cranberries in some hot water like I normally do with my raisins.  I am not sure if it worked as well with the cranberries but some of them plumped up while they got more hydrated.  The most plump ones floated to the top.


The next step is to mix in the egg and the oil.

Then, I added the orange zest.


Add in dried cranberries to mixture.  I decided to go with one cup because I had a lot of cranberries that I got free from a sale so it seemed like I should try the high number now while I had a bunch.  If you want, you can add to taste.


Add in the dry ingredients and it is starting to look like muffin batter but mine was a little dry so I added a few drops of orange juice from the orange that I zested.


I put them in my two smaller muffin tins because I feel like they make a deeper muffin then my other muffin pan and then realized that this would make almost 24 muffins.  I don't like to use the paper cups because I feel like you loose some of the muffin on the paper so I grease my muffin tins before adding the batter.  Feel free to choose whatever might be your family favorite.


Then they are put in to bake!


They are best fresh out of the oven (maybe with a little butter).


I broke one open to see the texture inside and see how many cranberries were inside.  The muffin smelled like orange and was very tasty.


I hope that you make these soon and see if you like this version a little more then the basic recipe.  If you want, mix it up with any ingredients that you think would taste yummy!

Cranberry Orange Bran Muffins
Ingredients
  • 1 1/4 cups all-purpose flour
  • 3 teaspoons baking powder
  • 1/2 teaspoon salt
  • 1/2 cup sugar
  • 3 cups Total Bran cereal or any other bran cereal
  • 1 cup of dried cranberries
  • 1/2 of an orange zested
  • 1 1/4 cups creamer (or milk or buttermilk)
  • 1 egg
  • 1/3 cup vegetable oil (or shortening)
Directions
1. Crush Bran cereal while still in bag.
2. Measure Bran cereal and creamer into mixing bowl. Stir to combine. Let stand 1 to 2 minutes or until cereal softens. Add egg and vegetable oil. Beat well.
3. Add orange zest and cranberries.
4. Add flour and dry ingredients to cereal mixture, stirring only until combined. Portion batter evenly into muffin pan cups coated with cooking spray.
4. Bake at 400° F for 25 minutes or until golden brown. Serve warm.