
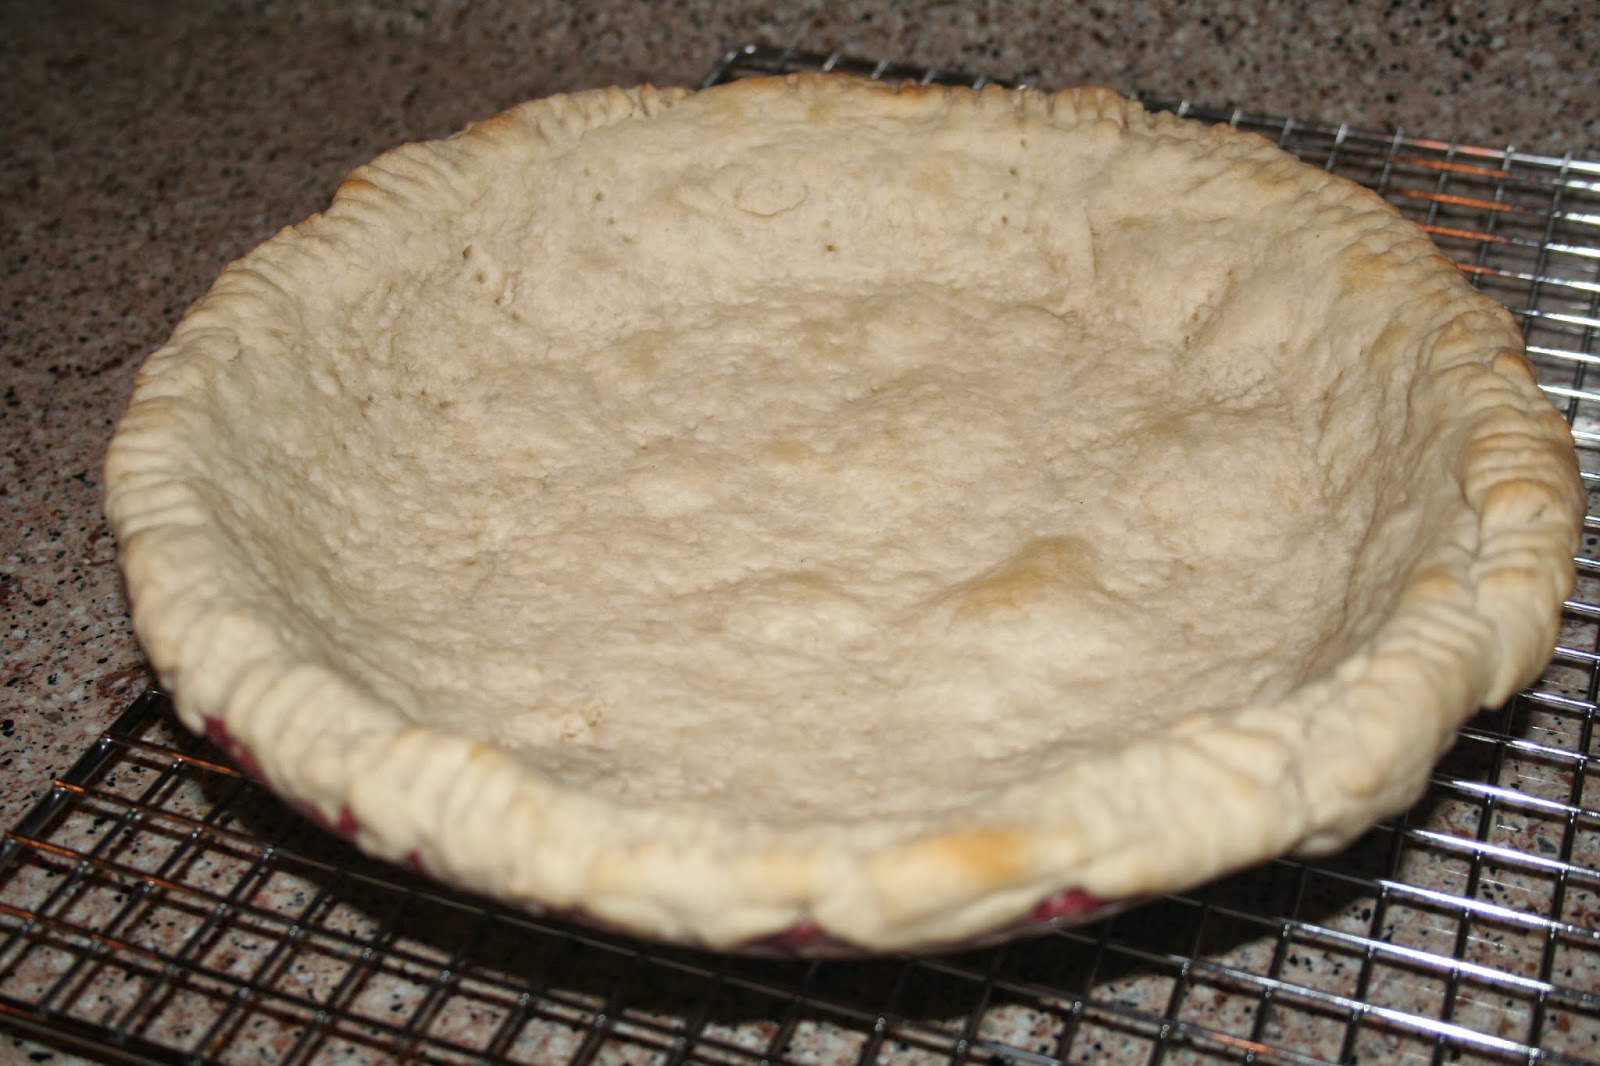
We made the pie crust after making a pumpkin pie since the oven was already heated. Isn't that pretty?

It baked quickly for 10 minutes until very lightly browned to make sure that the inside of the crust is cooked so that it won't be soggy. Make sure you don't cook it too long because the pie is going back into the oven later so you don't want the crust to be too brown. We let it cool on the cooling rack while we ate dinner.
I got out all of the ingredients and there was a problem. I had put the Karo Syrup upside down last time because there was only a little bit in the bottle. I had decided that I was going to make a homemade version for the next time but didn't realize that I was going to have such a mess when I opened the cupboard. It was hardened around the bottle and under a bag of sugar. I used a metal spatula to take off the top layer and my mom use the hot water and towel to clean off the rest. We sent my dad to the store to get a new bottle (after I pulled out the coupon for him to buy it).

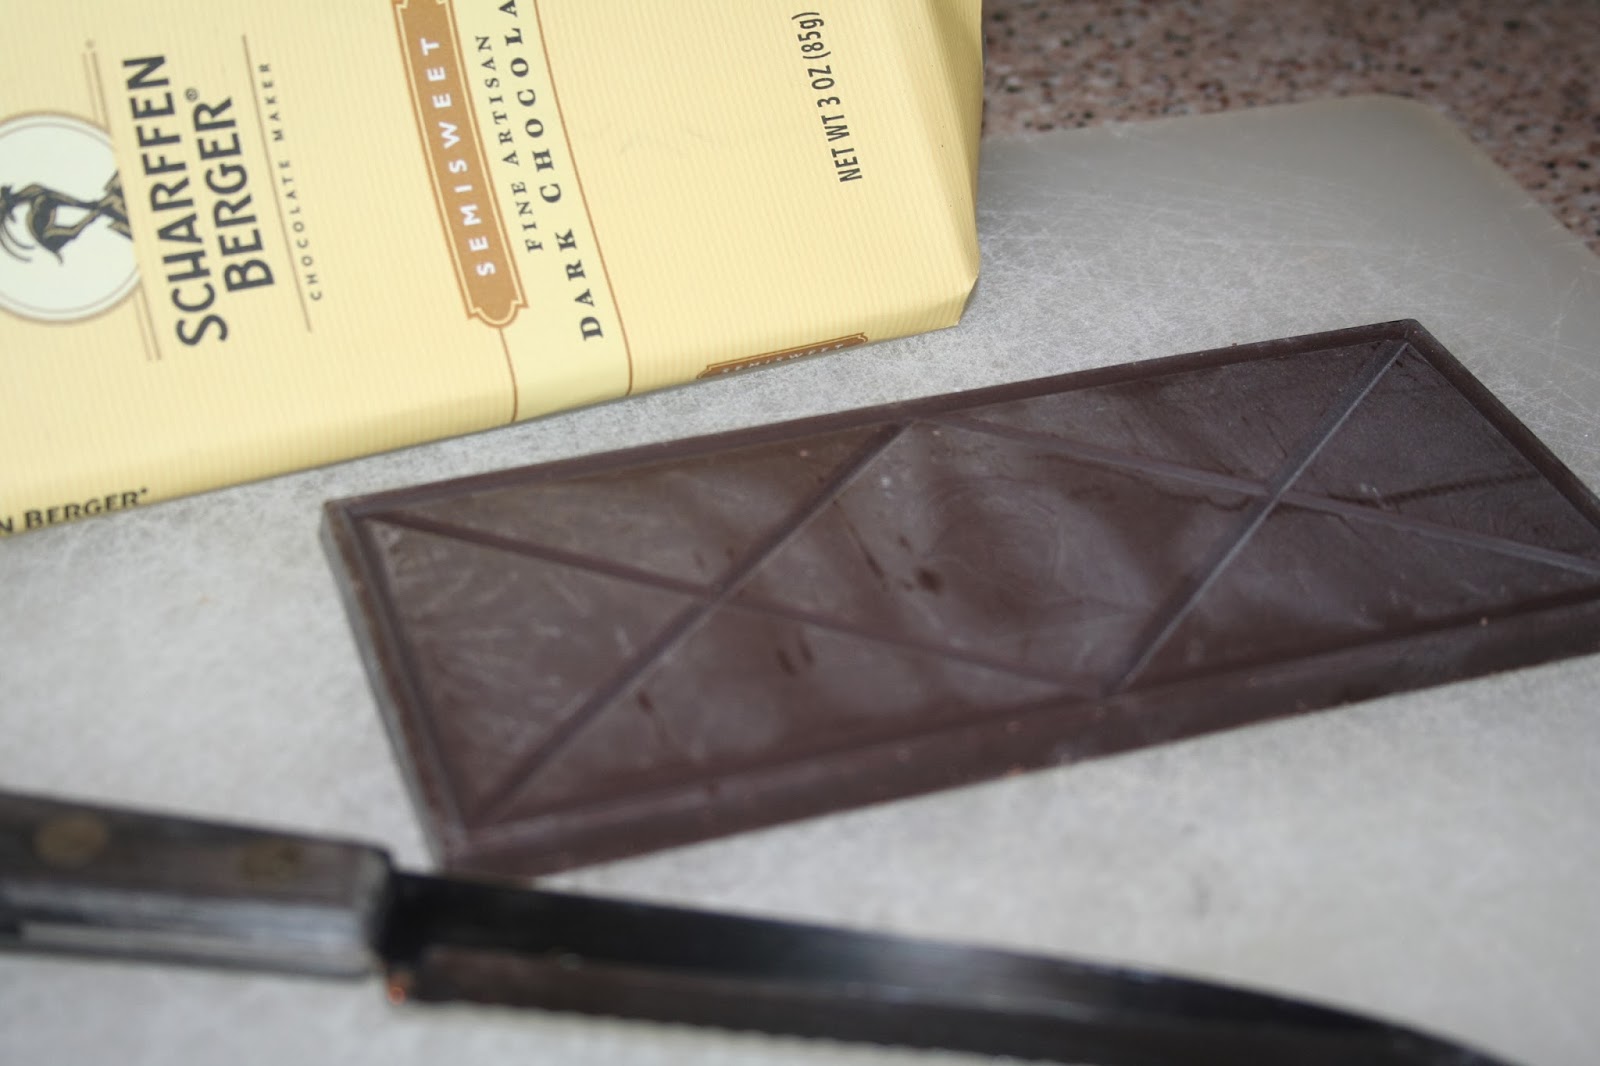
The first step was to chop up the chocolate bar. It is actually pretty easy to do. I use my favorite knife but as long as you have a sharp knife, you are fine. Put your hand on the back and push down to make the cuts and you can get pretty small pieces.
I don't have a double boiler or a glass bowl so I make a make shift double boiler. If you don't have those things, feel free to follow my creative double boiler. I took a pot and my large glass measuring cup to see what would be the best fit. I added water into the pot once I picked one that would fit nicely. I picked out a metal cookie cutter and put it in the bottom of the pan. I placed the glass measuring cup on top and it fit perfectly so that it was above the pot and not touching the bottom. Perfect!

I took the glass measuring cup out and added the butter, cut up chocolate and the corn syrup.

My mom melted it while stirring constantly. Everything melted and mixed together.

I mixed up three eggs in another measuring cup.

Then I added the vanilla to the egg so that it would be easy to add to the chocolate mixture when it was done.

My mom took the melted chocolate out of the pan and put it on a hot pad while we added the brown sugar.

We mixed until the the brown sugar was incorporated and there were no more chunks. Then, we added the egg mixture.

It didn't look like that was going to mix in very well and then it did so be patient. After it was all mixed together, we poured it in the prepared pie crust.

We both decided that the recipe needed to be doubled because it wasn't far enough up in the pie shell so we started the process all over again. I highly suggest that if you are using a deep dish pie plate, that you start by doubling the recipe instead of doing all the work twice.

I put the pie into the oven with our neat pie crust protector which my mom bought for us through Pampered Chef. I used to use aluminum foil but it takes almost a few different pieces of foil and then one always falls off in my hand and I burn myself trying to get the foil back on. It helps keep the pie crust from being burned.

Of course when you double the recipe, it does take longer to cook the pie (good thing that we had the crust protector on). It took our pie about 60 minutes to cook. It rose a lot and actually came up above the pie crust. Who would think that a chocolate pie would rise?

It did set down a little as it was cooling off so that it looked like a really nice pie.

You are supposed to leave a lot of room at the top to make lots of whipped cream (per the original recipe) but we are going to put it on per piece instead of covering it and really wanted to have a lot of chocolate for our pie. It turned out very solid and it lifted right out of the pie plate when my mom went to cut it.

If you want to make yours pretty, you might want to stick with the single recipe written below. Here is a slice just in case you want something to hold you over until you can make your own.

It was amazing and rich so I hope that you try some for yourself because it didn't last long here!!
Mississippi Mud Pie
One pie crust--make
your own favorite recipe or buy the box of refrigerated crusts which also work great.
Fit crust into 9-inch pie
plate or tart pan, flute the edge, prick the base and sides with a fork, and
bake at 425º for 10 to 15 minutes, until lightly browned. Cool in the pan on a wire rack.
For the filling:
3 ounces plain chocolate
(chocolate labeled dark or bittersweet), broken into small pieces
¼ cup butter or margarine
3 T corn syrup
3 eggs, beaten
2/3 cup light brown sugar
1 t vanilla extract
Make the filling in a
heatproof bowl set over a pan of barely simmering water (or use a double
boiler). Melt the chocolate
with the butter and corn syrup. Remove
the bowl from the heat and stir in the eggs, sugar and vanilla.
Lower the oven temperature
to 350º. Pour the chocolate mixture into
the pastry shell. Bake for 35-40 minutes
until the filling is set. Let cool completely in the pan, on a rack.
For the topping:
4 ounces plain chocolate
(dark or bittersweet)
1 cup heavy cream or cool whip or whipped topping of your choice
Over a sheet or wax paper or
parchment paper, draw the blade of a vegetable peeler across the side of a
chocolate bar at room temperature to shave off short curls (or use whatever
method you have used for chocolate curls).
Before serving the pie, whip
the cream to soft peaks. Spread over the
top of the pie, hiding the chocolate filling completely. Decorate with the chocolate curls. Refrigerate before serving.

No comments:
Post a Comment
Thank you for visiting my blog today! I really appreciate any input or ideas so add your comment below.