Showing posts with label Side Dish. Show all posts

Friday, June 7, 2019

Mashed Potato Bacon Cheddar Tater Tots

We had some leftover mashed potatoes and we were running low on potatoes to make homemade fries so I decided to use what I had on hand to make the meal more complete.  I decided that I was going to make the Mozzarella and Parmesan tater tots that I saw online (which I can't find again because I made it so long ago but might be closest to these) and mix up another batch with bacon and cheddar which I was totally making up because that sounded yummy to me.  I started with leftover mashed potatoes.


I added in the bacon and the cheese to try to make it way more flavorful and exciting.  I think that I could have added even more after making them.


Then I added in an egg that was already beaten.


I put some flour in the bowl and formed them into tater tot size nuggets...although I think that mine might have been too big.


After they were coated, I put them on the edge of the plate to wait to fry.


 Once they fried up, I put them on the paper towel to dry.


They ended up being a little bigger then I was wanting but it was hard to work with the sticky potatoes so it was the best I could do for my first time.


They were pretty tasty when they were hot and crispy out of the fryer but I think that they would have been even tastier with the breadcrumbs on the outside that many of the recipes suggested.  I would totally try this again but I might add a little flour to the mixture, make them smaller, add more fillings and bread the outside.  I think it is a great way to use up the leftover mashed potatoes that otherwise wouldn't be eaten.  It was a great quick addition to our meal which is always helpful and used up leftovers that weren't being eaten.  I hope that you try out your own combination for yourself.

Thursday, October 12, 2017

Fried or Baked Mozzarella

I had used the crescent rolls to make some pizza bites in the past and I decided that it would be a good idea to try to see how they would taste fried.  I got a bunch free in the last few sales and we don't often make them to eat with dinner so I try to use them as creatively as possible.


I pulled out a few cheese sticks to see how they would taste.


I cut them into small bite sized pieces.


I sealed up the edges of the crescent roll division areas and cut them into a pieces a little bigger then the cheese.

I rolled the edge over the cheese like this.


Then I folded the edges in dough so no cheese can get out the edges.  After pushing in the sides, I continued rolling the dough until it was totally covered.  On any that had a lot of extra dough, I cut it off to make an extra one with the extra dough.


When this was done, you get a little thing about the size of a pizza bite.  I smooshed the dough in so that there wouldn't be any cheese leaking out. 


Originally I was going to bake these and I decided to try them fried because I really wanted to see what the difference would be in the taste and texture.


They browned up nicely and quickly into these much later pillow-y fried cheese balls.


When you bite into the center, it is soft soft and has a little crispy outside with the dough fried up.  It was super tasty and an interesting change.  It was great dipped in a little pizza sauce.  I enjoyed it for my lunch and reheated the leftovers for dinner the next night.  It tasted exactly the same!!  Perfect to make ahead of time and heat up for dinner.

They would be great with a little bit of pepperoni and sausage too!!  

Super easy and tasty made from things that I got super cheap or free at the store and enjoyed making them into a meal. Hope that you check out this and make some for yourself. I know that you will enjoy these tasty treats in a little bit of dipping sauce!

Tuesday, January 31, 2017

Cranberry Salad Dressing from Cranberry Sauce

I was very excited to make some more cranberry salad dressing with the leftover cranberry sauce from Christmas dinner.  It was amazing and I was super glad that we had leftovers.  It might even mean that I am more excited to get the cranberry sauce next Thanksgiving...and I will be taking all the leftovers!! 


I got out all the ingredients and measured the cranberry sauce first to see how much I would make.


Last time I used the homemade cranberry sauce that I made from the berries and orange juice.  They were both tasty and I enjoy them both.


I learned from my aunt and uncle that if you make the salad dressing from canola or vegetable oil instead of olive oil that it will stay more liquid and not the solid that I had from the refrigerator like before with my other salad dressings so I was excited to try.  I put all the ingredients into the blender so that it would be super easy to mix together my large batch.


When it was done, I poured most of it into my glass salad dressing container but there was so much that I had to put it into another one.  I have enjoyed bringing this to work with me for my salads and having it at home.  It is super sweet and flavorful and tastes better then most of the salad dressings that you can buy in the store.


I hope that you enjoy this recipe with your leftovers!  I promise you will be way more excited to have cranberry sauce (only my husband likes to eat it...and who can eat the whole can?!)  Now nothing goes to waste.

Cranberry Vinaigrette Dressing

2 Tbsp white wine vinegar or white vinegar (used orange champagne vinegar from Trader Joes)
1/3 cup canola, vegetable, and olive oil mixture to taste
Salt and ground black pepper
1/4 cup cranberry sauce (used the gel this time and homemade last time)

Mix vinegar, oil, cranberry and salt and pepper in the blender and mix until combined.

Wednesday, April 13, 2016

Homemade Cranberry Sauce

I have never made cranberry sauce but I had some cranberries that I got in a Christmas gift which I immediately put in the freezer knowing that I would have to figure out what to do with them later.  I saw this recipe on line when I spent way too much time on Pinterest one night. 

I had also frozen the end of the orange juice that I had eaten so I knew that I could totally make this with things straight from the freezer!!  Love that I save everything even though I don't know what it I going to use them for.

I put the cranberries in the pot first because they were frozen.  Then, I picked out the ugly ones....Who knows what happened to them but I figured that they didn't taste good.


I added the slightly defrosted orange juice to the pot and then sugar.


Then, I stirred with my spatula to combine.


Then I got the juice up to boiling, and the cranberries started to crack open.  Can you see a few of them with lines on them?


I wasn't sure if I was doing it right but I figured that it wasn't much of a loss and then the cranberries started breaking open.  Awesome!!  I did it right!!  Woo Hoo!!!  After boiling and stirring more, the red started to come out more and more. 


After a little longer boiling, I had something that looked like cranberry sauce.


I boiled a little longer to combine all of the jelly like substance and it looked like this in the pot with nothing else added.  I was excited that it turned out so well!!


I took the hot sauce and put it in a container straight into the fridge with plans on sticking it in the blender the next day.

I don't like canned cranberry sauce but my husband does and it will go great with a roasted chicken.  We both tried it with the chicken and enjoyed it even though we didn't even make a dent in the big container that I had.  I decided to freeze it to figure out what to do next.

If it turns out that it isn't something he wants to eat again then I am going to make it into salad dressing like the recipe here.  Either way, it is a win win for using up things in the freezer and making good food.  Have you ever made cranberry sauce from scratch??

Wednesday, February 17, 2016

Simple Hasselback Potatoes

I was looking for a new and fun side dish to go with our whole chicken that I put in the oven.  With very little planning, I decided on these Simple Hasselback Potatoes for our Super Bowl Sunday meal (out of the Sheet Pan Supper Cookbook) but the recipe is out there everywhere on the internet. 

This was supposed to be our Saturday menu but we switch the meals around at the last minute when my son declared that he wanted hash browns and pancakes.  I was going to make something else because I thought we had enough potatoes but I have wanted to try these and it was exactly the right amount of time left to cook them with the chicken!!  Awesome!!

I washed the potatoes and set them on the cutting board.


I cut the bottom off the potato to give them an even bottom to sit flat.


I sliced the potato in thin slices all the way across the potato.


I put the potatoes in a pan to bake in.  I covered with olive oil.


I topped with sea salt and pepper and tried to separate the slices and dripped the oil inside the potato.


I put the extra pieces of potato in the corners (because I didn't want to waste any potato) of the pan and put it straight into the oven.


After cooking the potatoes for over 30 minutes, I took the potatoes out and flipped the little potato slices and moved the other potatoes.  I added some white cheddar popcorn seasoning and parmesan cheese to brown and put it back in the oven.


The cheese nicely browned and the potato did a great job baking in the oven and the end of the one potato even fell off the rest of the potato.


I put the potatoes on to the plates for dinner.  There was a really thick crust of salt, pepper and cheese on the outside to make this potato really tasty.  We enjoyed the little bit different potato with the soft inside and the great flavor.


I hope that you test this out for yourself and add whatever flavoring you think that your family will love!!  It was perfect to start off simple and we might even make these again!!

Simple Hasselback Potatoes
  • Medium Sized potatoes (wash them well)
  • Extra virgin olive oil
  • 1 tsp kosher salt
  • ½ tsp black pepper
  • Chopped fresh herbs, shredded Parmesan Cheese, crumbled bacon, or other toppings

Instructions

  1. Preheat the oven to 425 degrees F with the rack in the center. Line a baking sheet with parchment paper or mist with cooking spray.
  2. Slice a thin layer off the base of the potatoes so they will not roll around. Use a sharp knife to make thin with vertical slices down the potato but not all the way through, about 1/8 inch apart.  Place the potatoes on sheet pan.
  3. Brush potatoes all over including the bottoms with olive oil about 1 tbsp each.  Sprinkle with salt and pepper. Bake them until the slits have begun to open and spread apart like fans, about 30 minutes.
  4. Remove the pan from the oven and brush the tops with potatoes with the oily pan drippings.  Return the pan to the oven and bake the potatoes until crisp on the outside and knife tender within, another 30 to 40 minutes
  5. Finish the potatoes with a sprinkle of chopped herbs, shredded cheese, crumbled bacon or other toppings and serve warm.

Sunday, October 6, 2013

Restaurant Style Baked Potatoes on the Grill

I love a good baked potato!  We enjoy them when we go out to restaurants which we don't do very often anymore so I have decided to make a restaurant potato at home.  I have tried a lot of different ways to make potatoes on the grill but I feel that this is the best way. 

Clean and poke holes in your yummy baking potatoes.  Start by heating in the oven or microwave while getting everything else ready for your grilling.

Get a piece of aluminum foil and put olive oil and coarse sea salt in the middle.


Place the potato in the center.


Roll over and rub in the olive oil and salt so that it is well coated.


Fold the sides up and fold the aluminum foil over 2-3 times to seal the edge.  Repeat with the other sides so that the packet is totally sealed


Push the foil down to be around the potato so that the foil touches the potatoes.


Grill on the top rack of the grill while grilling the yummy chicken or steaks on the grill and you have a tasty and easy side dish.  Remove the aluminum foil and enjoy.  I wish that I took a picture of the finished product but it was so tasty that we enjoyed our steak and potatoes after watching the football game on Sunday with family.  Hope that you try it and enjoy the yummy restaurant style baked potatoes prepared on the grill.

Shared on 

Thursday, August 8, 2013

Spicy Garlic Green Beans

I had green bean in the fridge that I was going to use for a stir fry and then we changed up the schedule a little and I figured that it was best to mix them up for a side dish before they went bad.  My husband said that he would eat them every night so I think that I will be looking for more yummy looking green beans soon!  I did look before and all of the green beans were looking a little sad this year.... have you noticed that?  And more expensive so I figured that we would just try some of the better looking veggies even though we do like green beans.  This recipe changed my mind because we need them again soon.


I started by breaking the ends of the beans which I am not sure if you have to do but I feel that getting all the stuff off that I don't want to eat is best for me :)  Here is my bag for the trash.


 Then, I had a little pile of green beans done. Which I washed off and dried so that they would be ready to cook!


I pulled out all of the ingredients that I thought that I was going to use.


I added the oil and the garlic to the pan waiting for dinner to be ready.  It is nice to have everything ready before it is time to start cooking.  We really enjoy the green beans barely cooked so I like to wait until the last minute to start them which often means that I forget to get them on the table.


I heated up the oil and the garlic before adding the green beans to the pan.


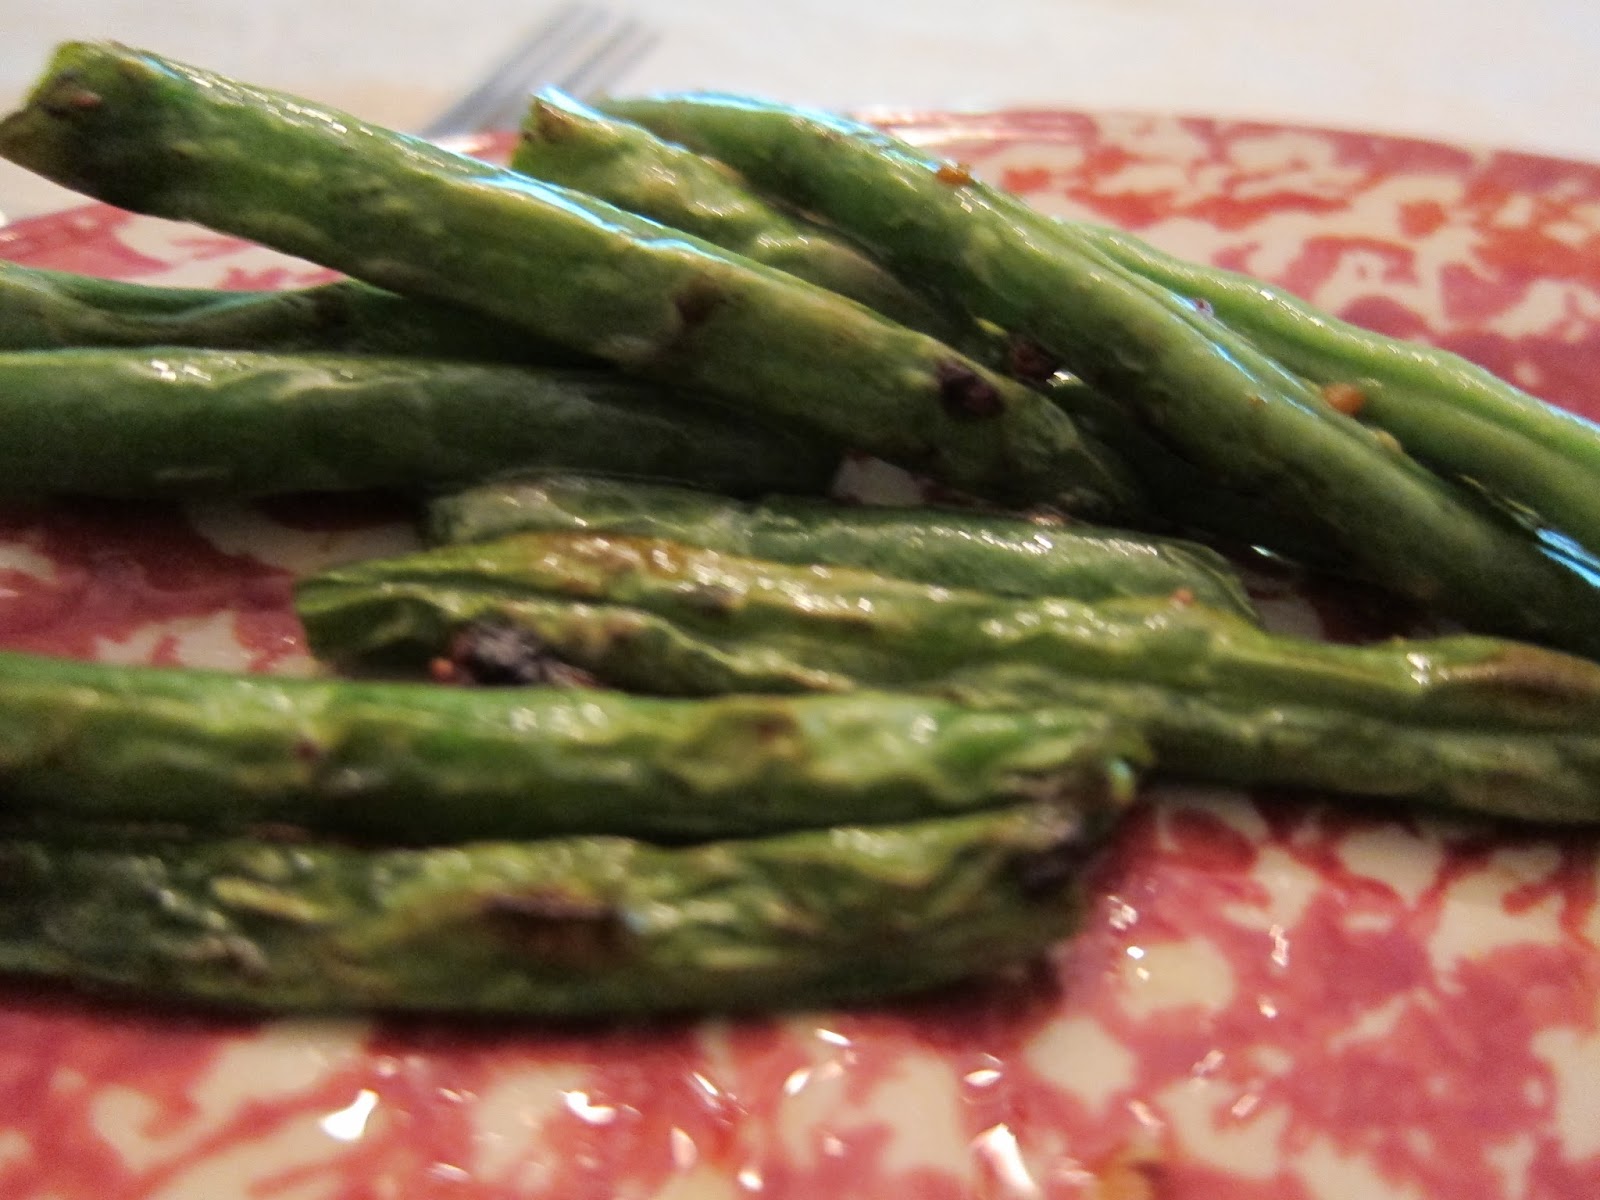
 I shook or stirred the pan until the beans were a little darkened on the outside and I added some salt.  I decided not to add the pepper and I was really happy with the flavor.


I served it with grilled chicken and rice which was a perfect compliment.


I hope that you try these for yourself soon!  They are as good as the ones at our favorite Chinese restaurant without leaving the house.  I am going to be making these with a stir fry sometime soon.

Spicy Garlic Green Beans


Green Beans
Olive Oil (or chili oil)
Minced Garlic
Salt and/or Red Pepper Flakes (to taste)

1.  Heat oil and garlic in pan.

2. Add cleaned and trimmed green beans.  Stir until cooked to taste.

3.  Add salt and red pepper flakes to taste and serve.