
I decided that I was going to make these with my son after school but I wanted to do a little bit of the prep work before so that I could still get dinner going so I pulled out all the dry ingredients. He loves to be my sous chef but sometimes I have less patience later in the day so it is better to have a little bit of the work done ahead.

I added them to the bowl and mixed with a fork.
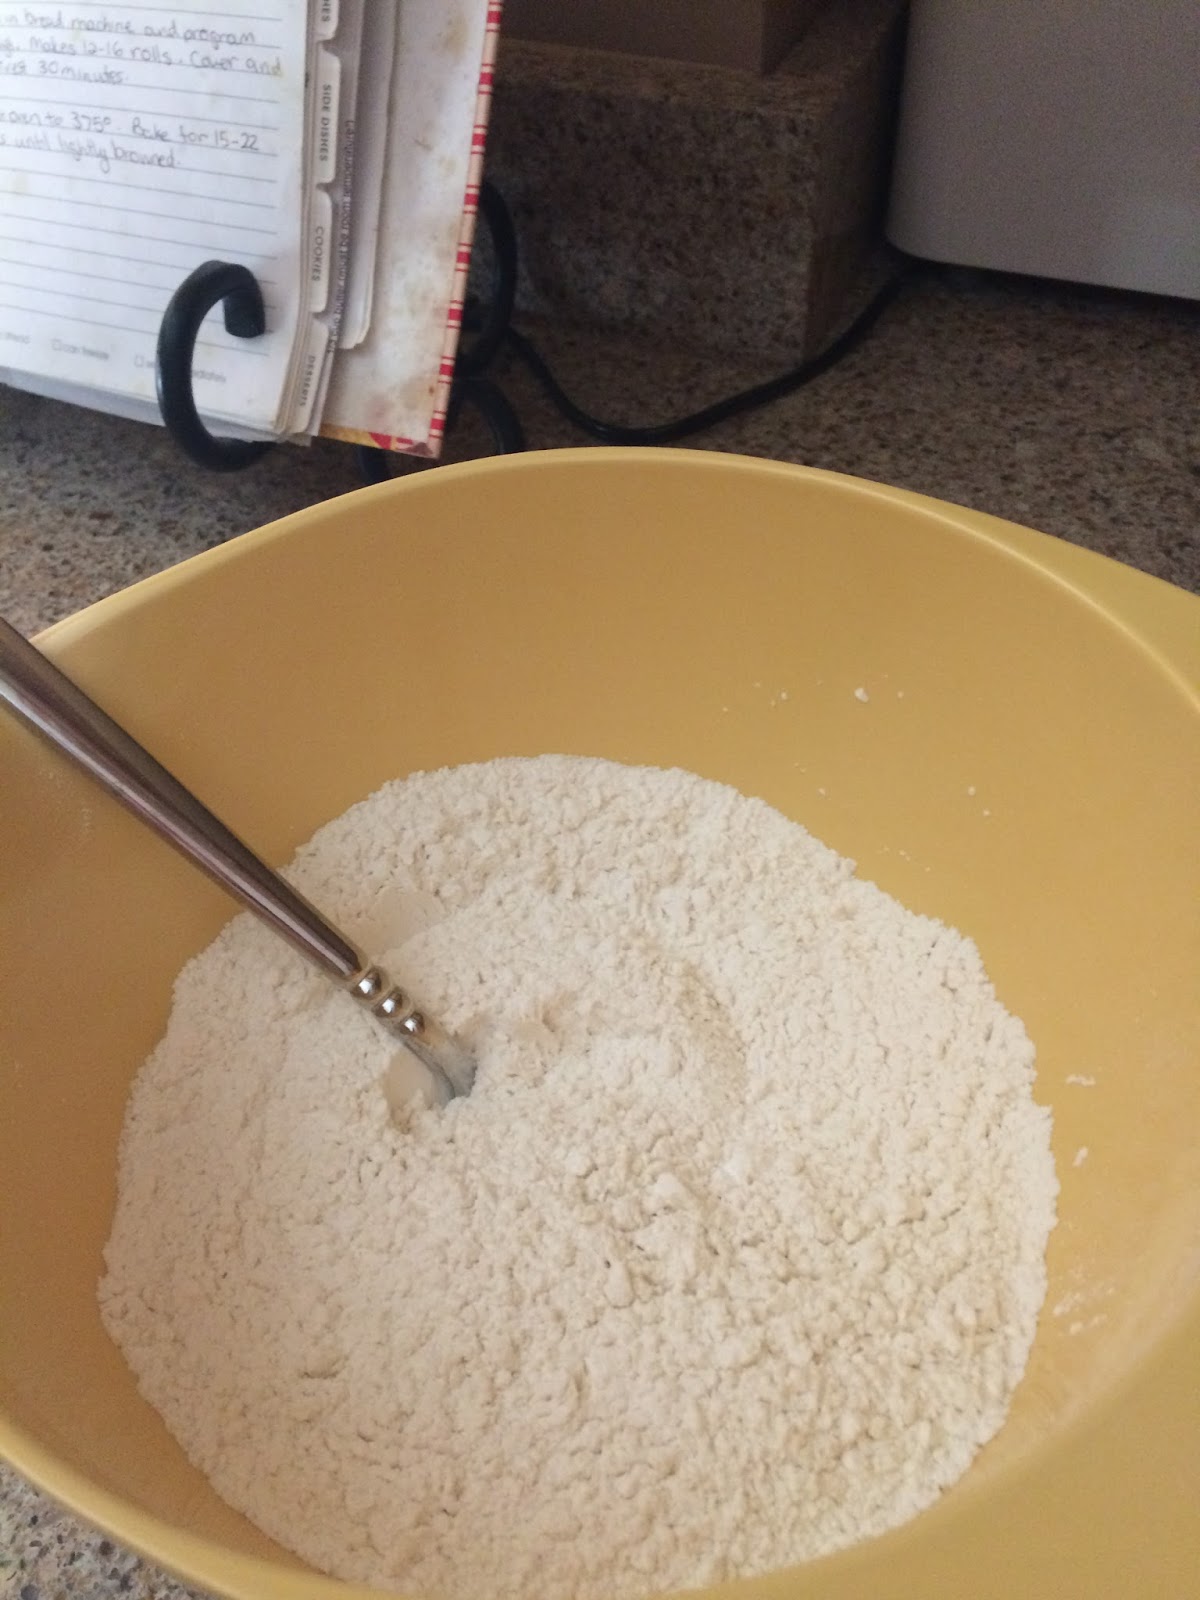
I added both mini chips and regular chips so that we have different sized chocolates but use whatever you have in the house.

I mixed them all together.

I put the stick of butter in a microwave safe bowl so that my son could melt it after school. I would normally just use a measuring cup but I knew that we had to add some other ingredients so I went with the bigger bowl.

I measured the sugar and got out the eggs and vanilla to go into the melted butter.

Everything was set and ready to go for my son to help me make these bakery style muffins. My son was excited to start after school so he melted the butter and mixed in the sugar.

He got a mixture that in his words looked almost the same but the sugar was dissolved.

He then measured milk and poured it into the bowl with the vanilla if you can see the brown outline in the bowl already. He even slowed down so that I could take a picture of the pouring process.

The liquids then looked like a lighter mixture and we needed the last ingredient which was the eggs. I had him crack them into the measuring cup so that we could pull out any shells but if you are confident that you aren't going to get shells, you can do it straight into the bowl but always good to have a precaution when you are dealing with a little helper.

The liquids were ready to add into the dry ingredients.

The dry ingredients mixed together with the liquids but I think that we were so excited that we didn't take a picture until they were in the muffin tins. We made 24 muffins with this recipe and I made half plain and the other half like my old recipe with sugar and a few more chocolate chips on top to make it extra tasty.


We baked them while we got the rest of the dinner made. The muffins turned out great with chocolate and sugar on the top and plain but I think that I am totally changing to this recipe now!

We enjoyed them a lot!!

I think that my husband was a little sad when they were all gone but I am going to mix up a few of the dry ingredients to have on hand in the pantry for the next time for sure!! Hope that you check out this recipe for yourself and see if you enjoy it as much as I have.
Bakery Style Chocolate Chip Muffins
Ingredients:
- 2 ½ cups (308g) all-purpose flour
- 1 tbsp (13g) baking powder
- 1 tsp (5g) baking soda
- ½ tsp (2.5g) salt
- ½ cup (114g) unsalted butter, melted and cooled
- 1 cup (200g) granulated sugar
- 2 large eggs
- 1 cup (250ml) milk (whole or buttermilk is preferred)
- 1 tbsp (15ml) vanilla extract
- 1 ½ cups (275g) chocolate chips (any size)
Instructions:
- Preheat oven to 425°F. Grease 24 cup muffin tray with shortening, non-stick cooking spray or line with paper liners.
- In a large bowl, toss together the flour, baking powder, baking soda, salt and chocolate chips. Set aside.
- In a medium bowl, whisk together the melted butter, sugar, eggs, milk and vanilla. Slowly add to the dry ingredients. Gently fold together until JUST combined.
- Divide the batter into the 24 muffin cups and top with sugar and chocolate chips.
- Bake at 425°F for 5 minutes. Then reduce the oven temperature to 375°F and continue to bake for another 12-15 minutes or until a toothpick inserted into the center comes out clean. Let cool for about 5-10 minutes and enjoy warm.
Notes:
Muffins taste best the day of, but
can be stored in an airtight container at room temperature for up to 5 days.
For mini muffins; bake for 10-12 minutes at 375F only.
No comments:
Post a Comment
Thank you for visiting my blog today! I really appreciate any input or ideas so add your comment below.